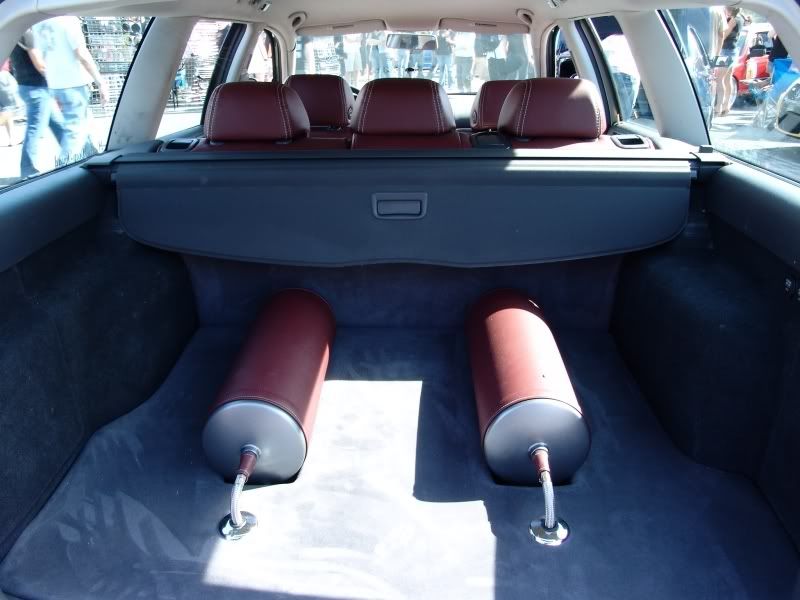
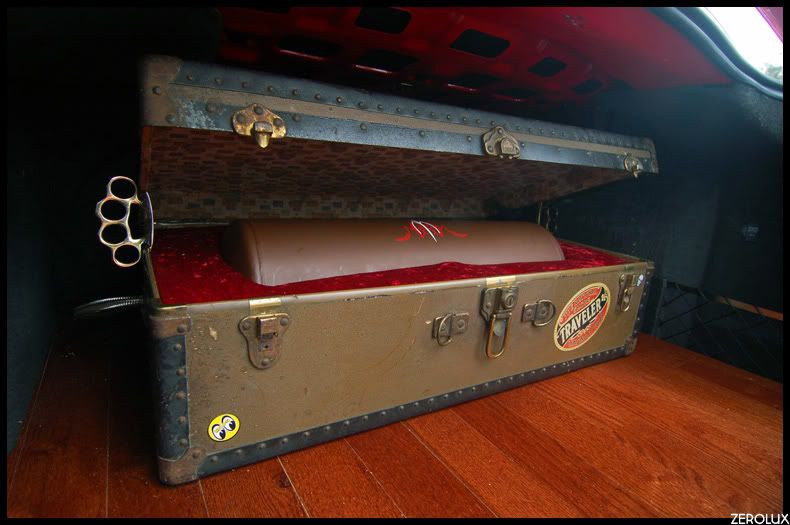
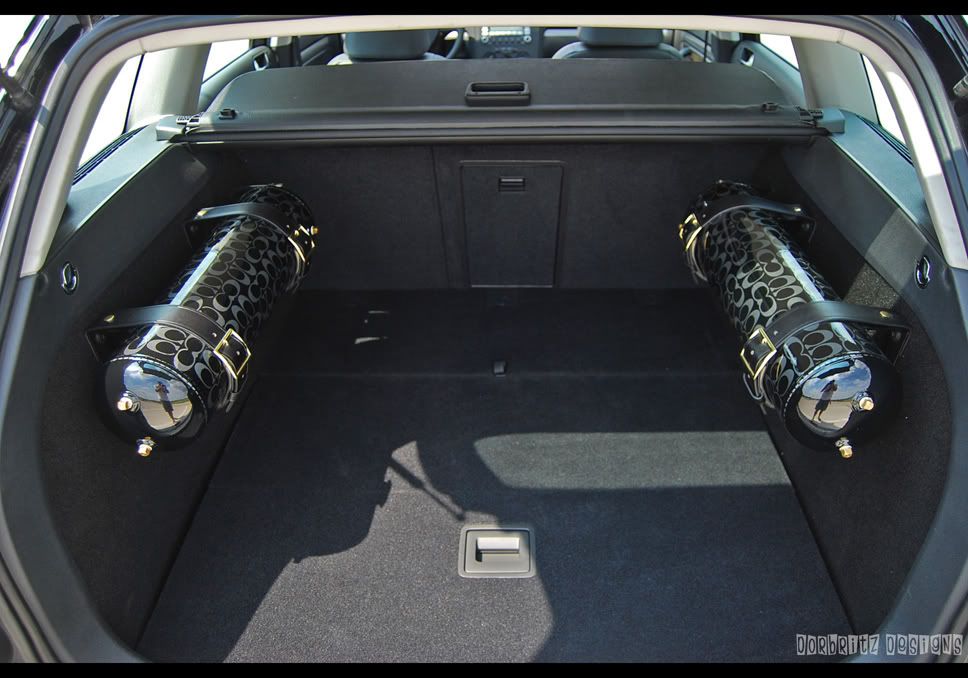
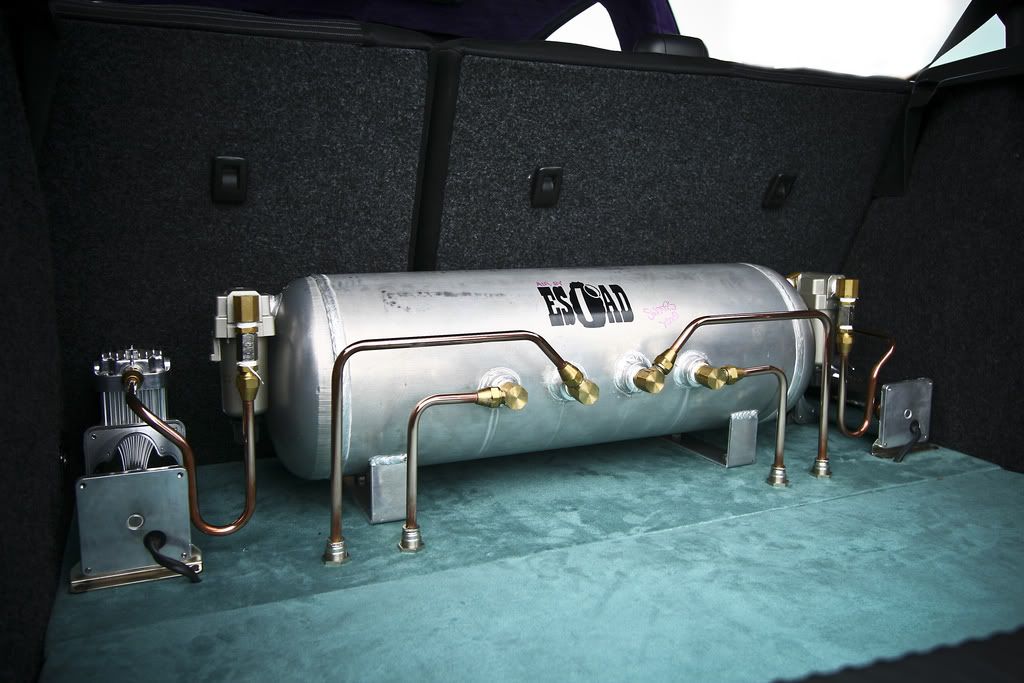
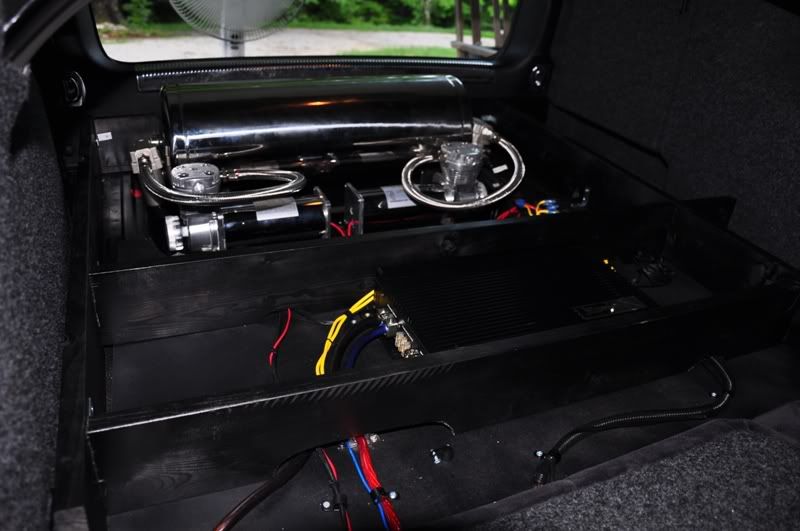
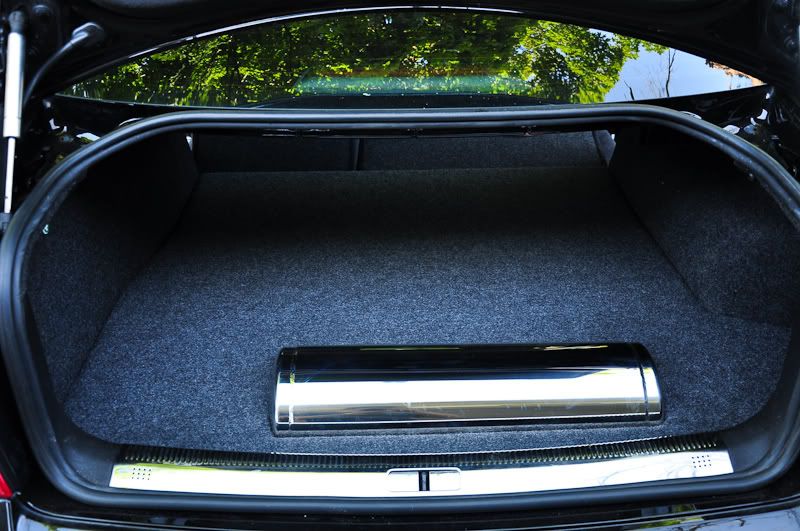
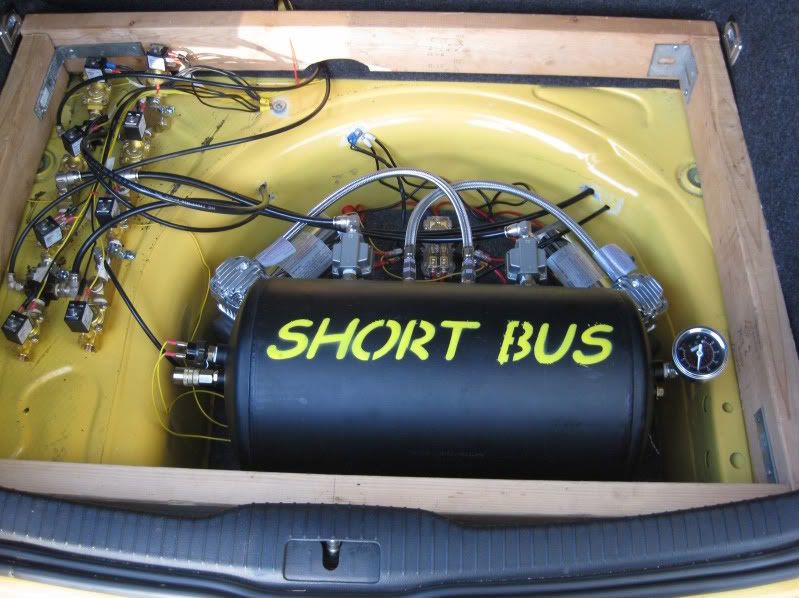
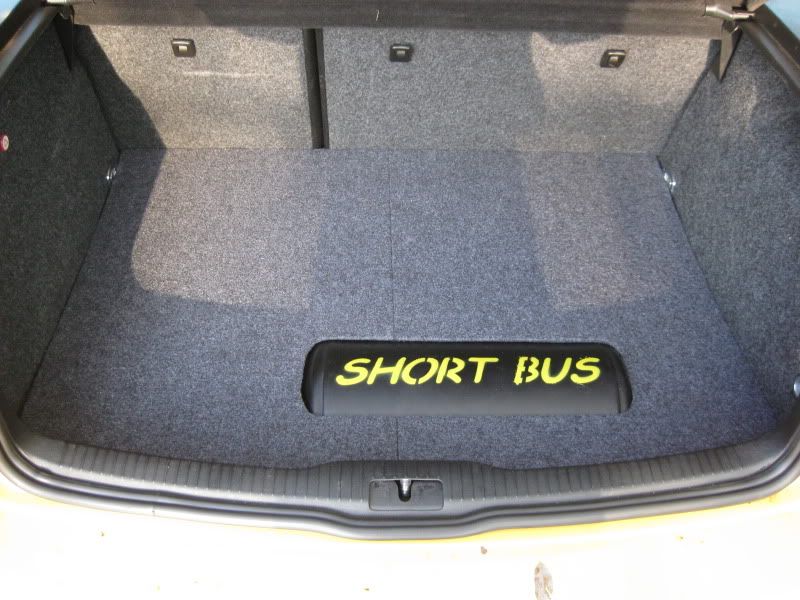
I got bored doing all the reading for all the previous articles, so I've checked out many, many build threads and hatch/boot/trunk pic threads and picked out some pics I liked and/or were of some interest/relevance to my own build.
Here's the first bunch,
FRAME SETUPS.
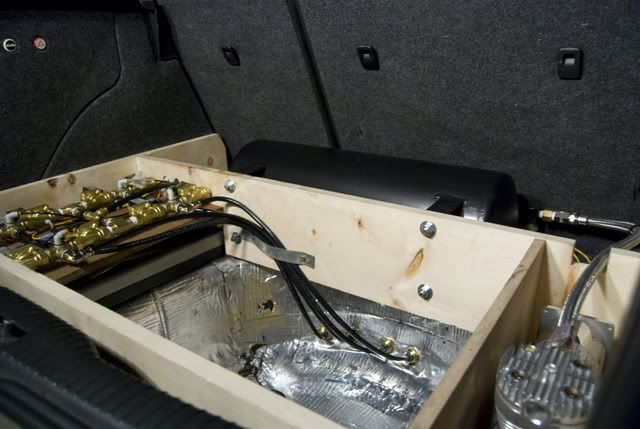
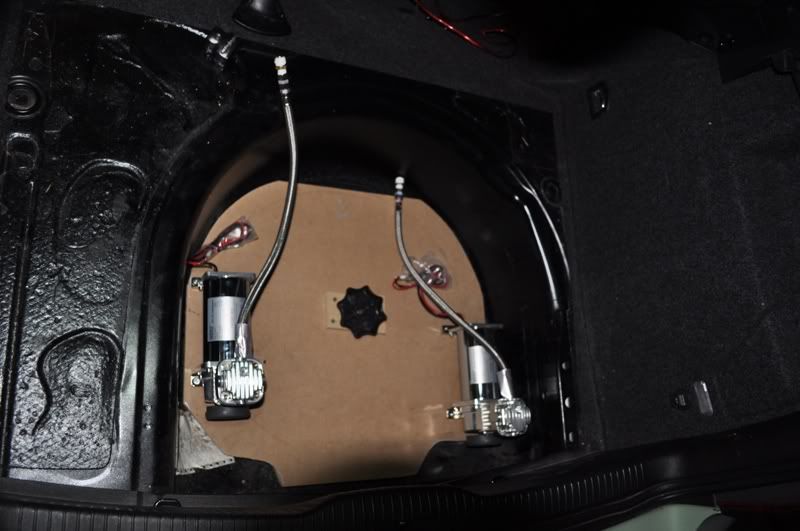
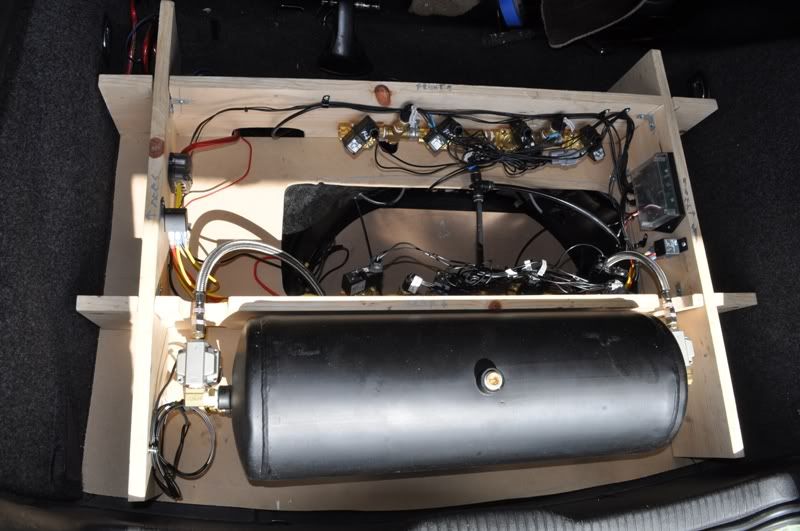
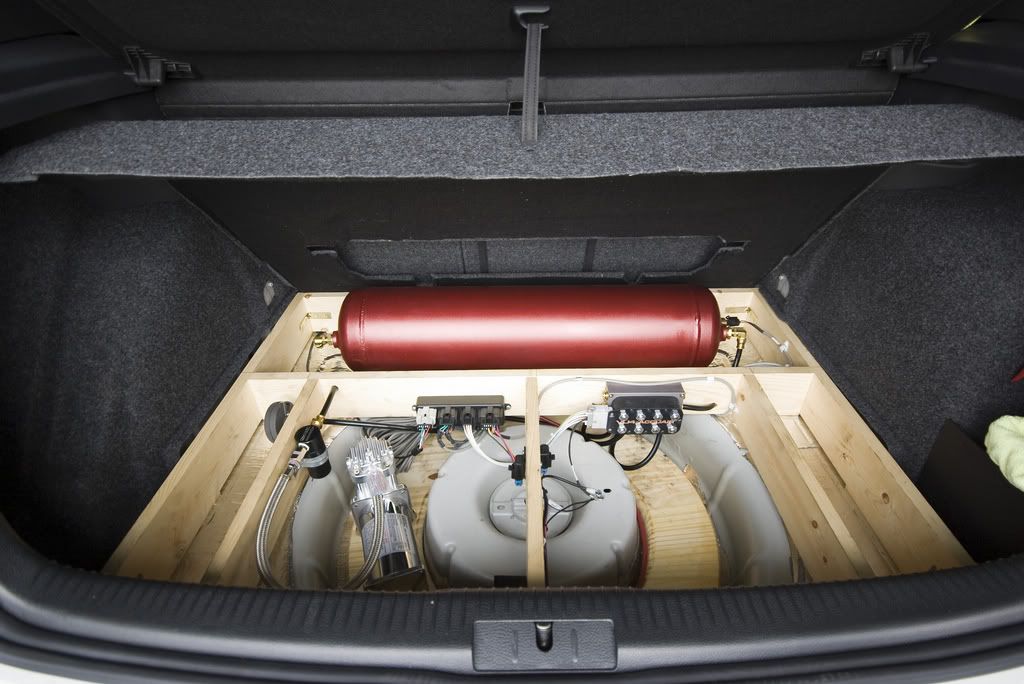
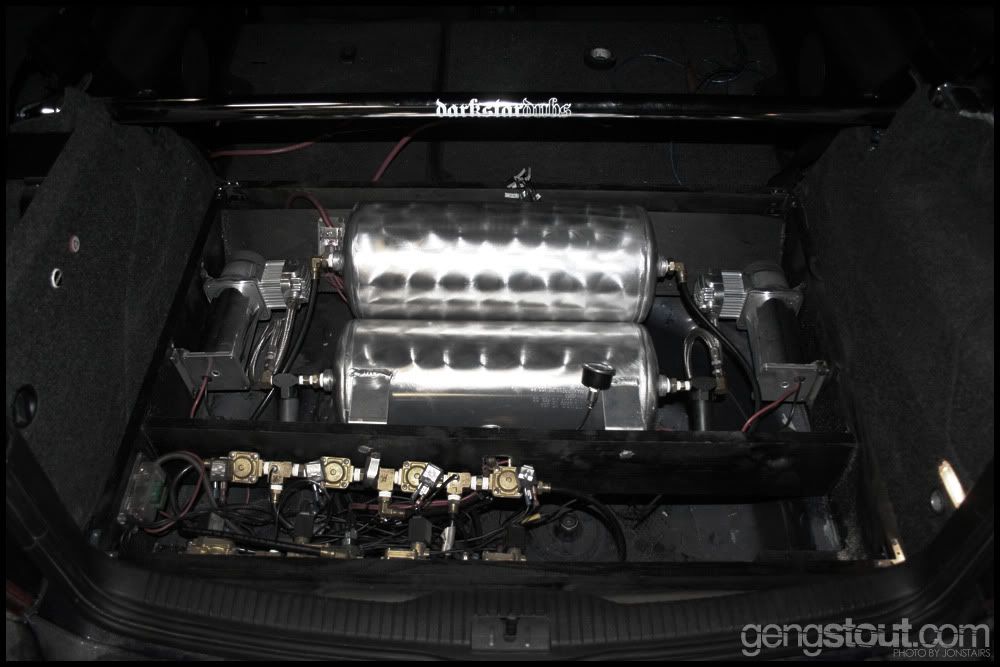
Provisions for tank, and compartments for compressor, valves etc.
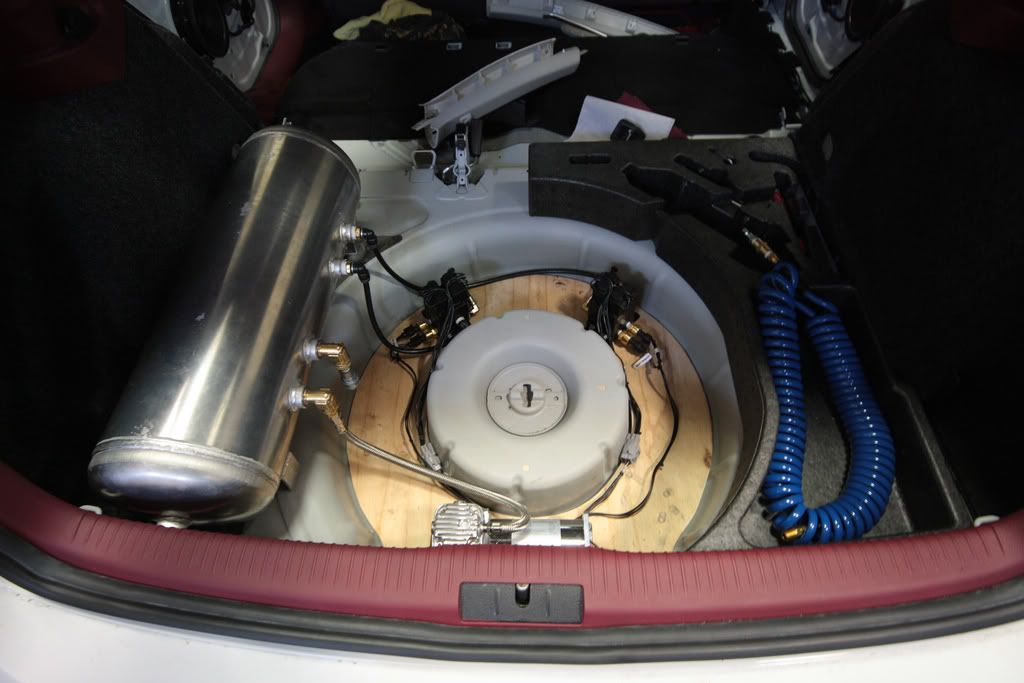
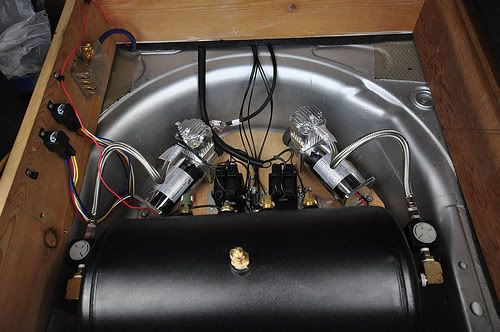
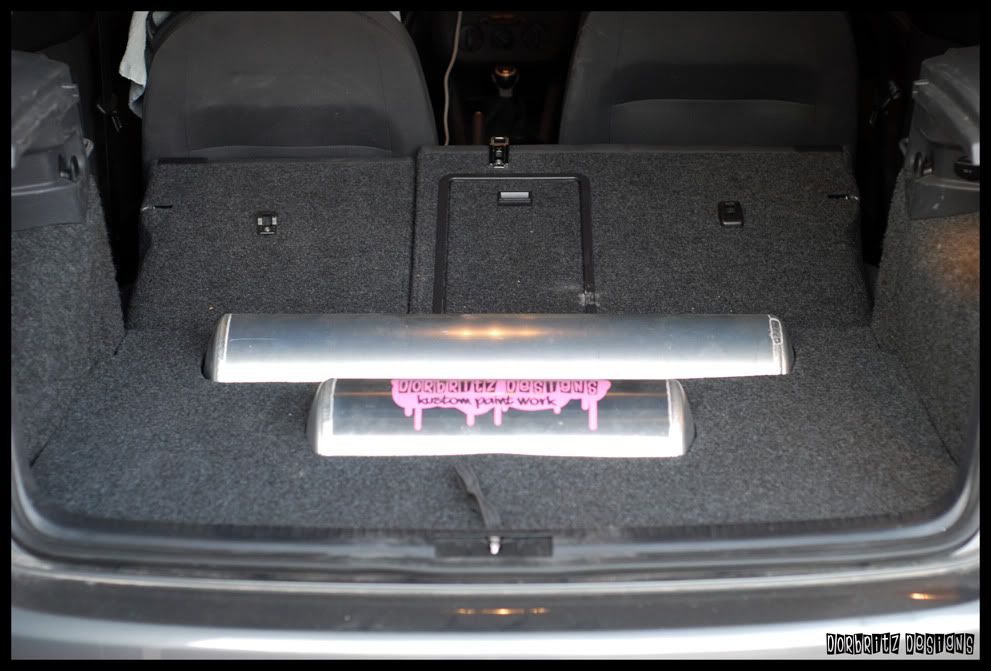
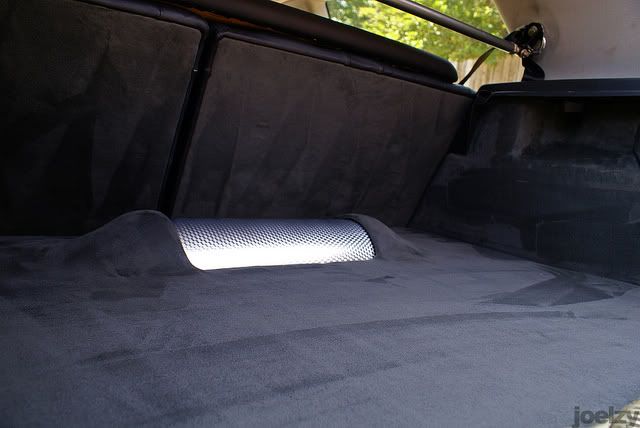
The 8L doesn't have a donut wheel well, so a simple circle cut-out would suffice.
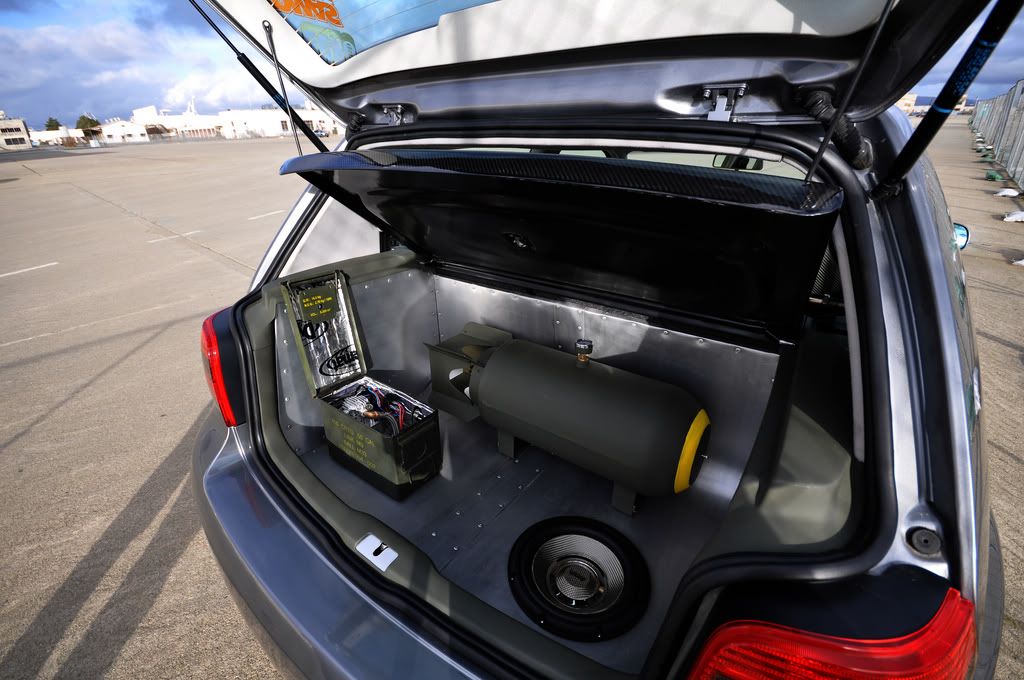
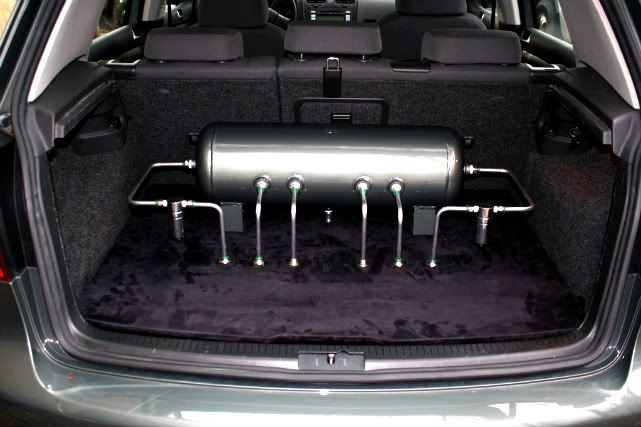
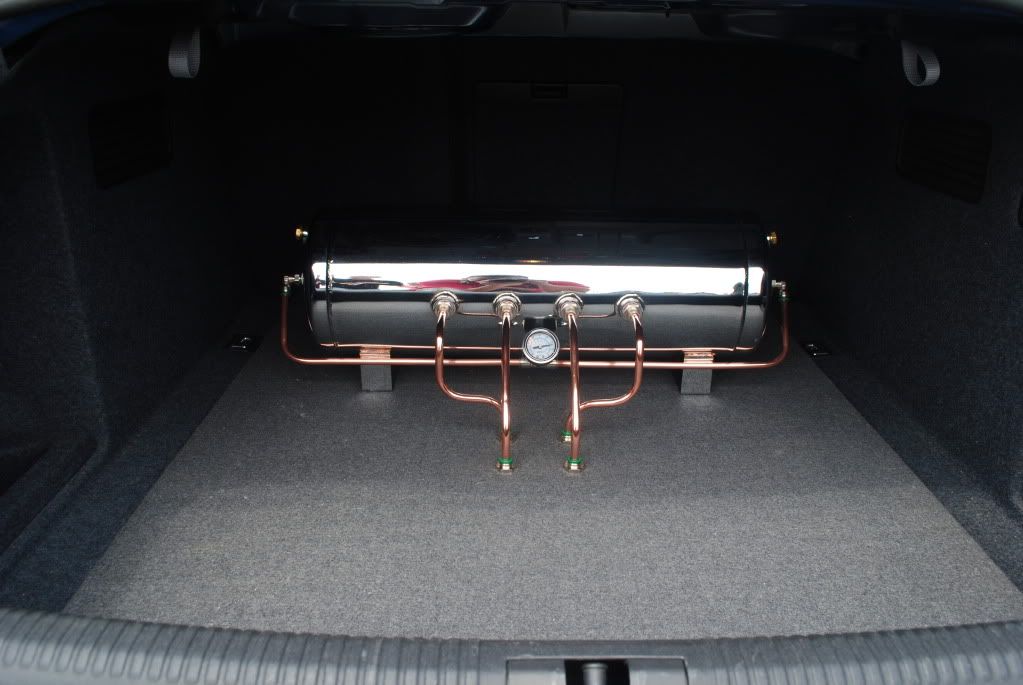
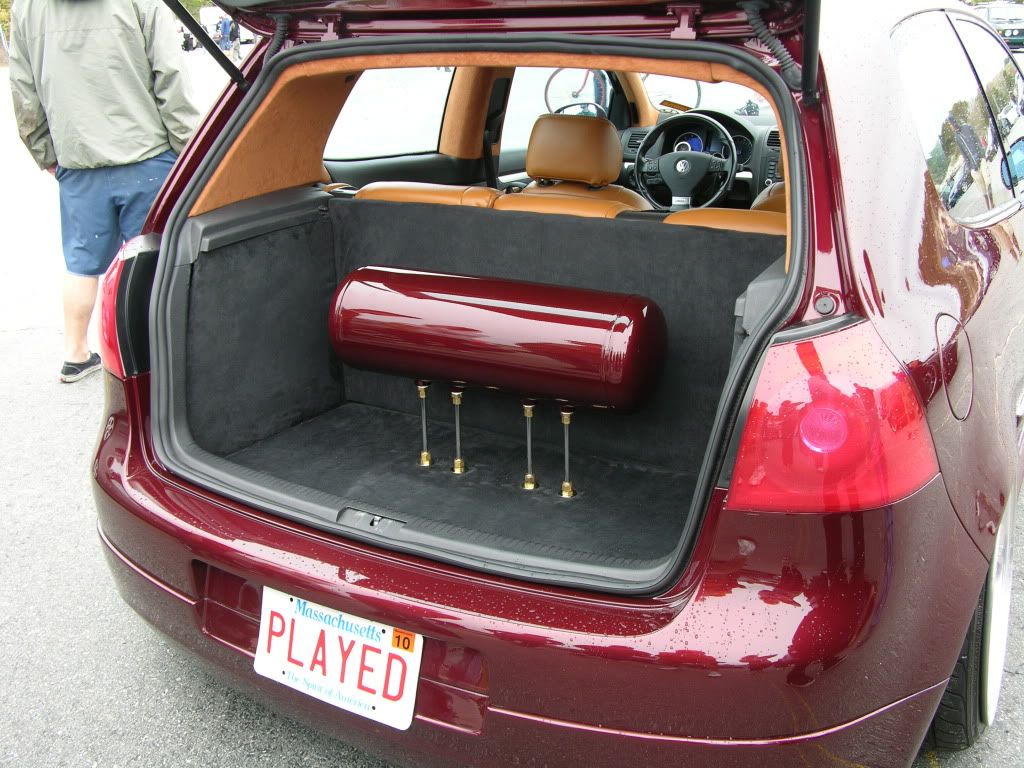
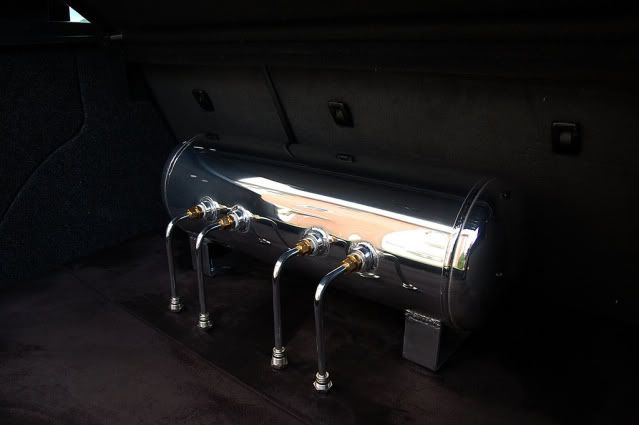
Side-mounted tank (might be difficult to drain?), sound-deadened, bulkheads.
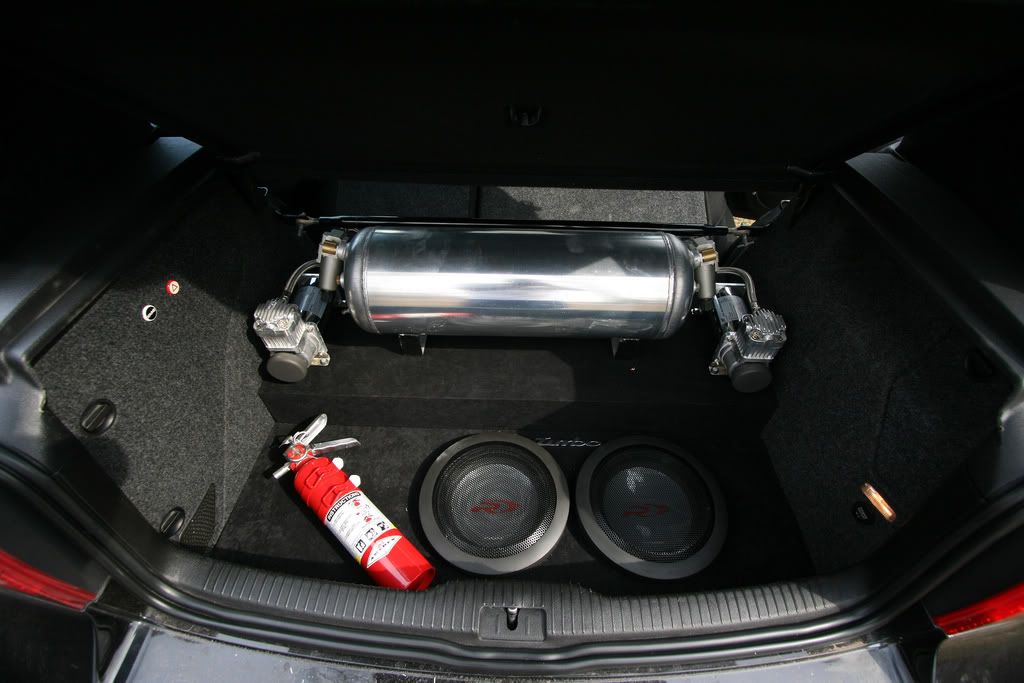
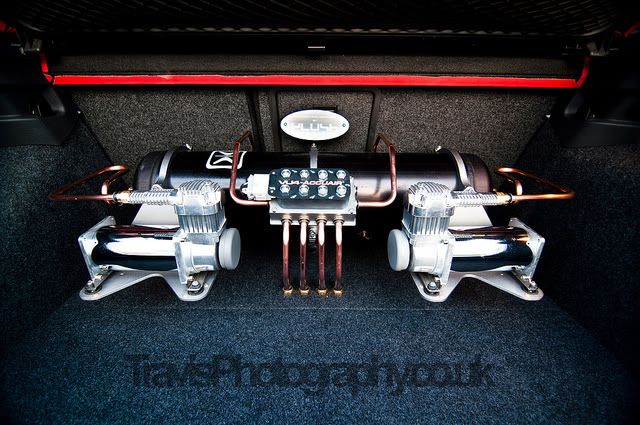
I think this is a Mk4 hatch, very similar to the 8L. Not sure if that's a 3 gallon or a fat 5 gallon. Either way, that with dual compressors and valves all fit comfortably in the wheel well.
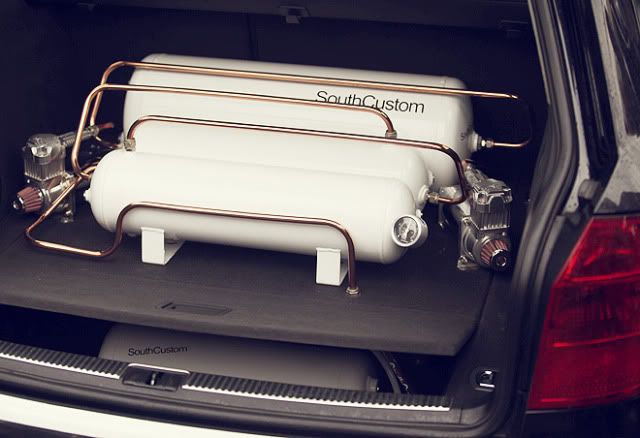
Side mount tank on removable supports (notched to fit like a jigsaw). Plenty of room in the wheel well with the just compressors and VU4.
This guy kept the spare wheel. That's a small 3 gallon. Space-efficient setup but very convoluted and I don't really care about the spare wheel.
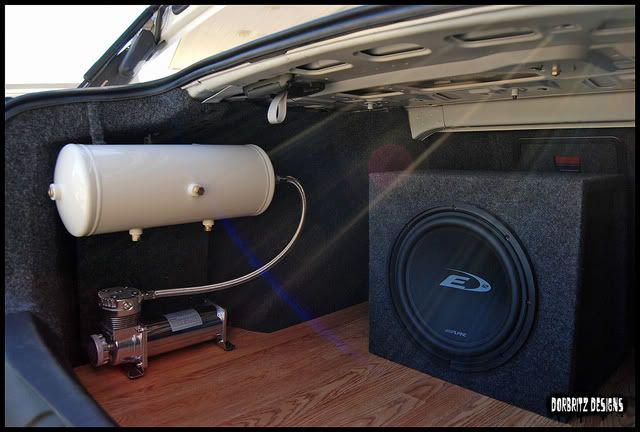
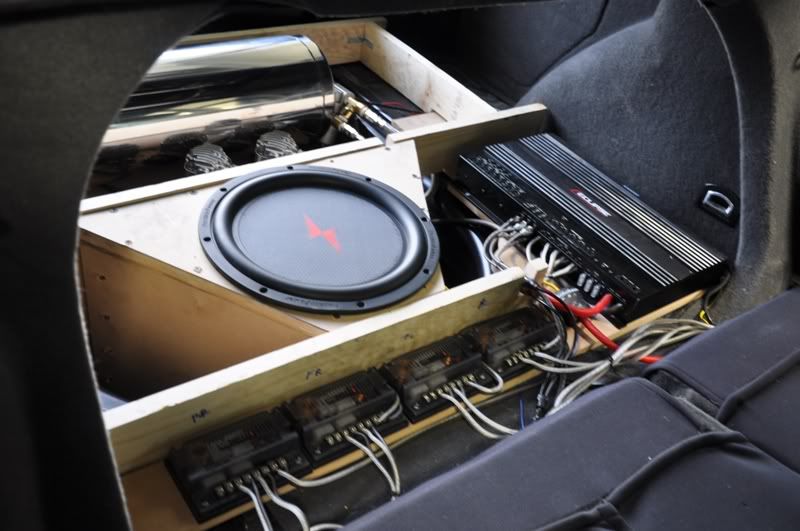
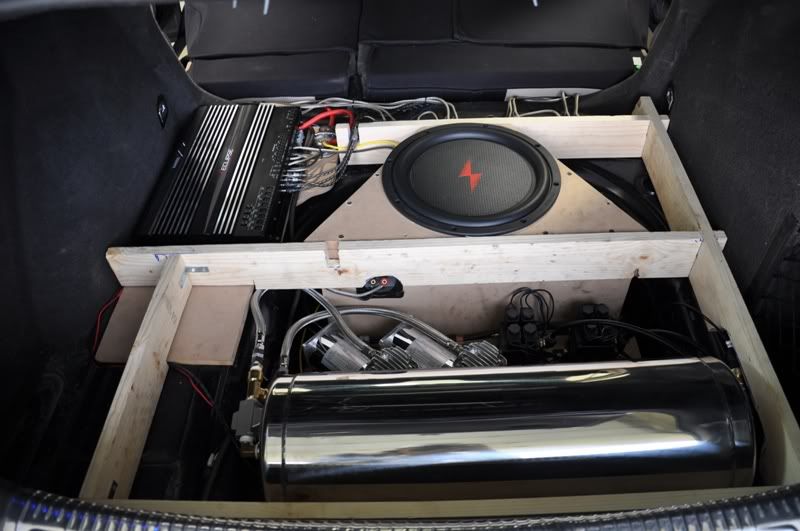
 Sweet air + ICE install. I think I've got a pic of it with the top on and it's all hidden except for the sub and a slight tank peep.
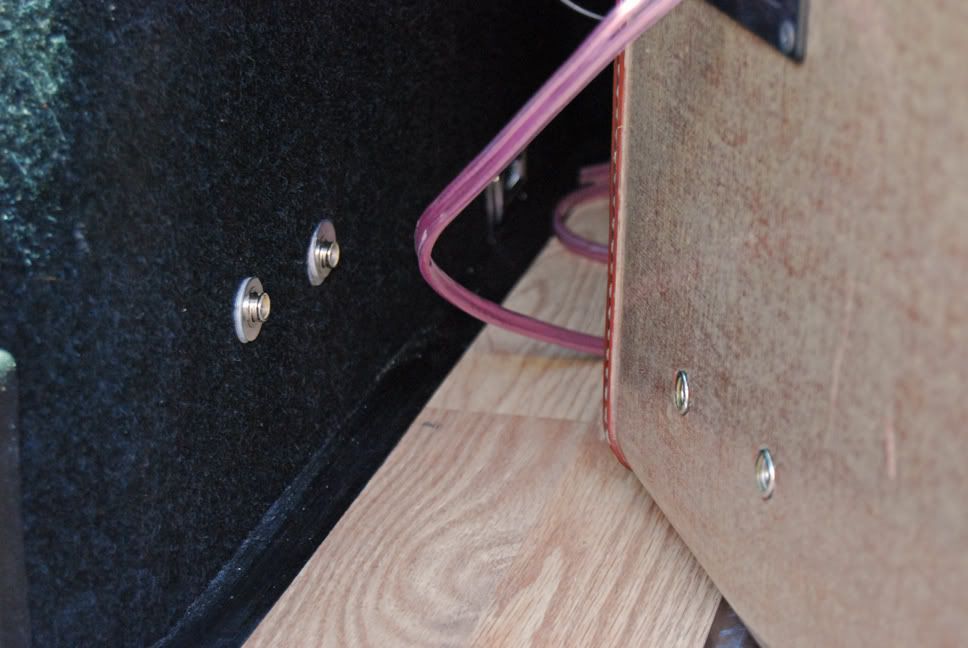
 Using the original spare wheel clamp to hold down floor. Could work loose as the compressors start up and vibrate the shit out of it.
From the same setup as above. A lot of dead space in the wheel well, making the false floor unnecessarily high...
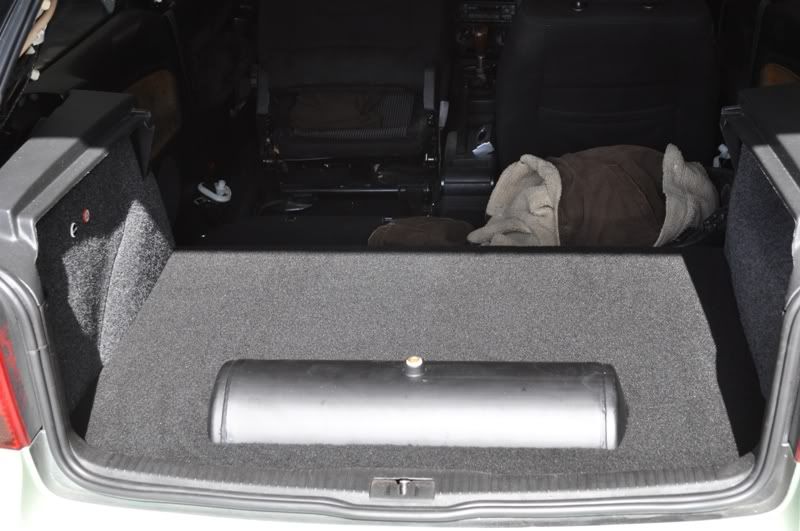
... but a peeping tank salvages whatever hatch space there is left.
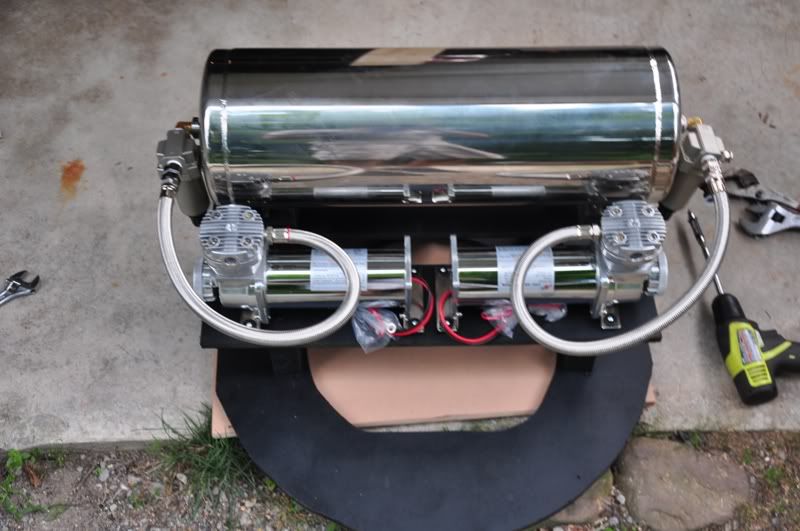
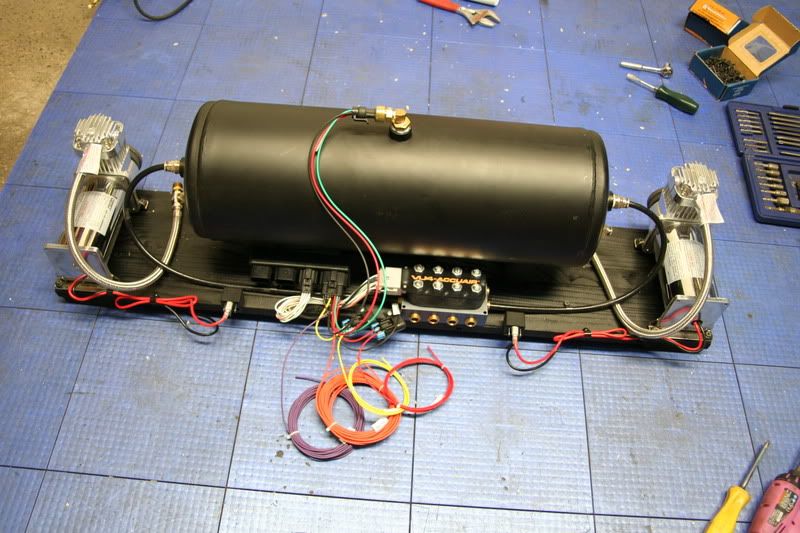
Compressors and tank on a separate frame...
... to the rest of it. Allows it to be taken out in a jiffy. Round cut-out sits around the wheel well, using as much dead space as possible.
Same setup as above, but just the view from the rear seats...
... and with the false floor on. Clean.
Mk4 setup. Again, a fat tank inside the wheel well with two compressors. Valve setup mounted separately though - individual valve setup makes it look very messy.
Plenty of room left though, with a shallow false floor. Note the split in the middle - two-part false floor for easy removal.
Simple setup, but why leave the spare wheel in there? There's no way to get to it, unless you undo the air lines and power lines and remove the floor altogether. More trouble than calling a mate to bring a spare wheel down.
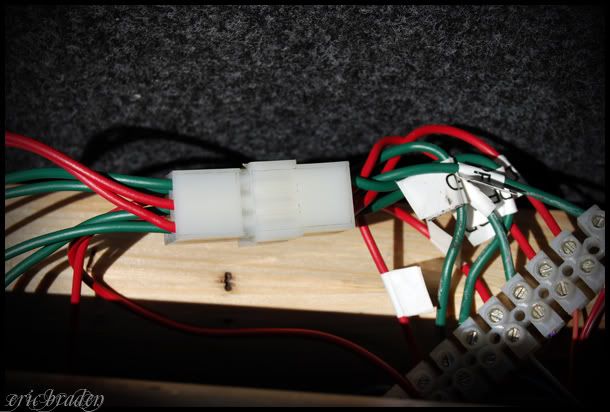
Harness connectors. I suppose that should make the disconnecting easier.
Compressor leader lines routed around the outside of the false floor. Cleaner look, and also increasing the travel length of the compressed air to the tank. Allows any moisture to condense and reach the water trap. Reliable setup.
Super neat setup!
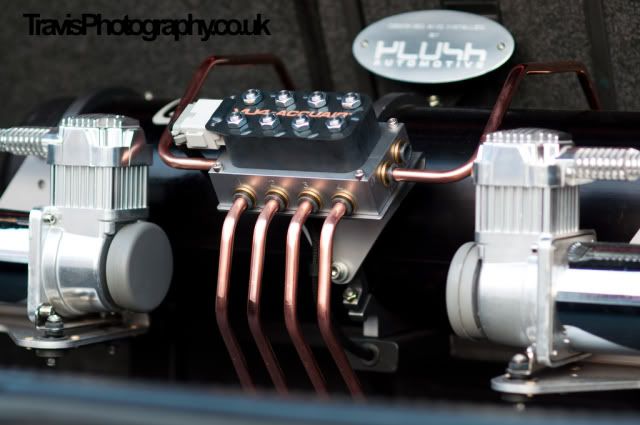
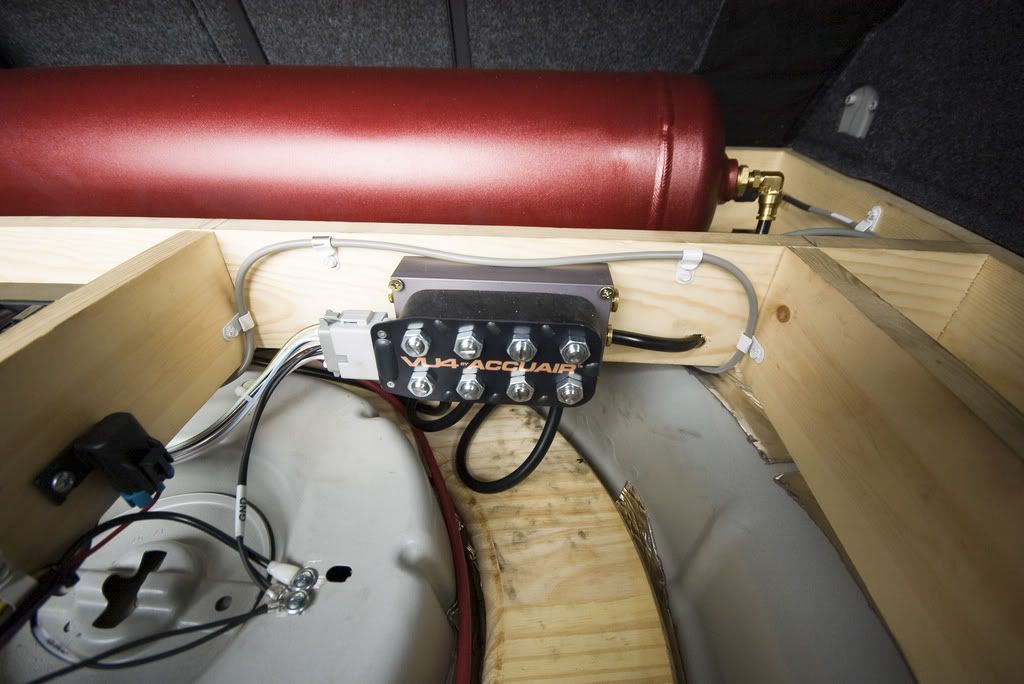
VU4 making installation so fuckin' easy compared to the individual valve setups seen above. Note grounding location and P-clip brackets
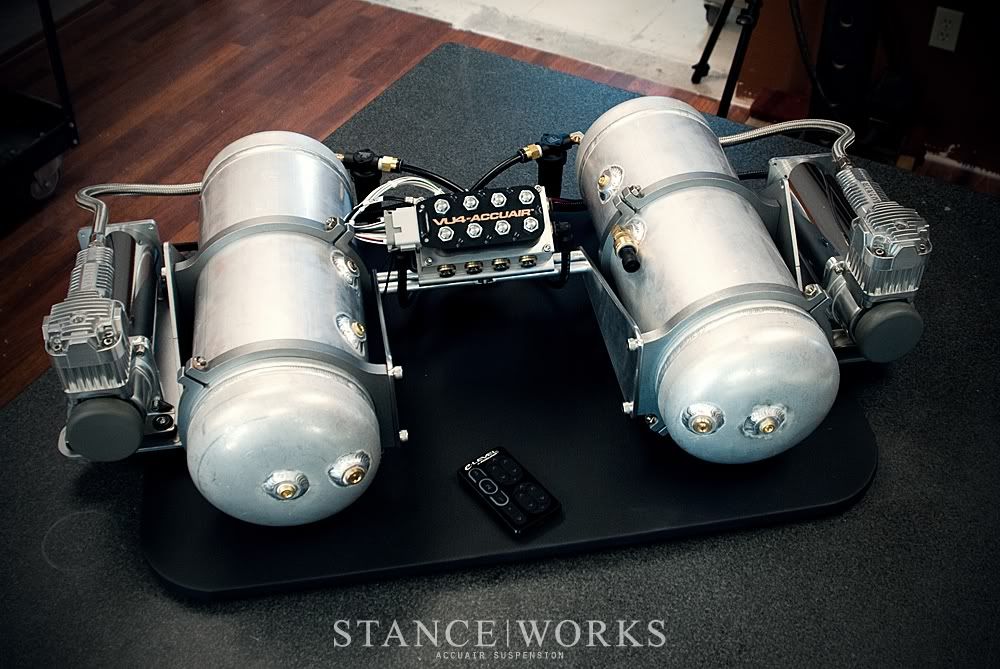
RidePro setup. Note two tank setup with different volumes (5 gallon + 3 gallon?).
The above all covered up.
Simple and clean setup. Smart routing of wires too.
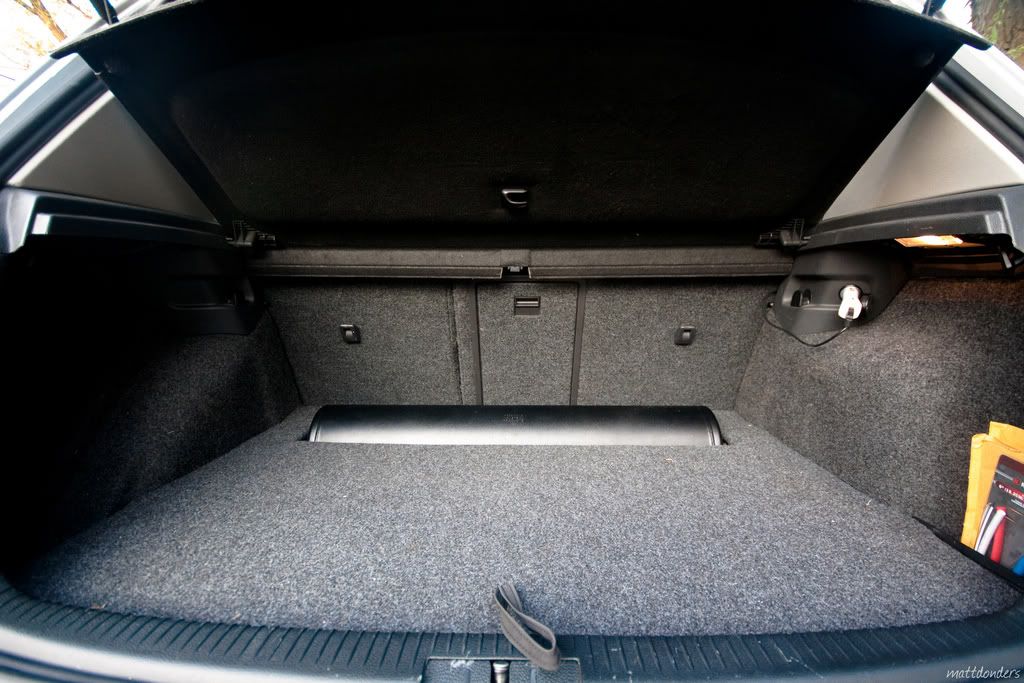
Above setup with the false floor on top.
Dual 3 gallon I think. Spare wheel well not utilised though.
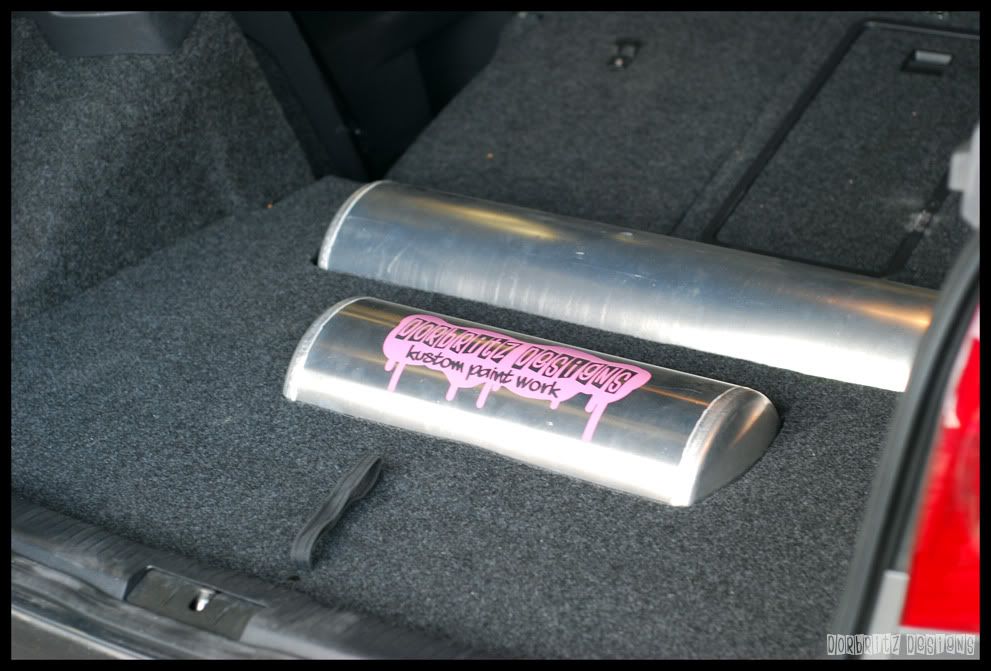
Maybe just me but I don't like how the tanks peep over in this one. Clean setup nonetheless.
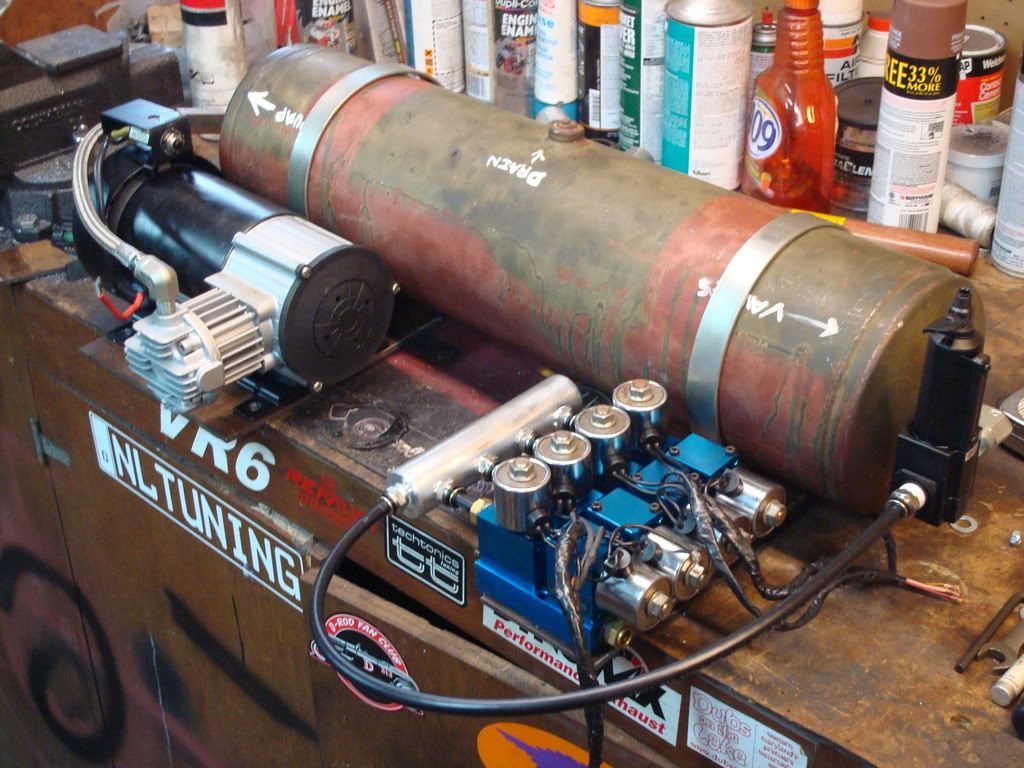
Not sure what the stuff is below the tank.
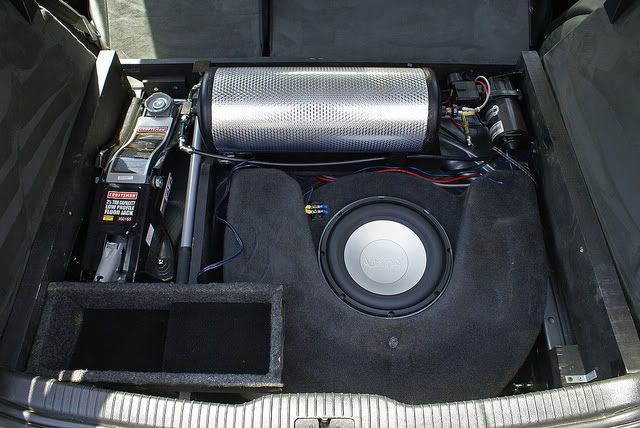
Sub box below the floor, and compartment for a hydraulic jack and other stuff? Pretty cool.
Wicked false floor setup. May be fibreglass bumps over the tank there.
Simple removable frame.
Good use of space.
Accuair's eXo mount system. Mounts compressor and VU4 to the tanks. Super clean, super simple.
 Undercarriage frame.