This is an enthusiast's guide for those who enjoy their 8L A3. Some aspects of the guide may apply to Volkswagen's Mk4 Golf and Bora as well as Audi's Mk1 TT.

My name is Raymond and I frequent a number of forums both local to Australia and global as rayray086. I've created this blog for me, as I'm a bit OCD in keeping all the info I need in one package. As of July 2011, my A3T is my daily driver and it is stock standard. I came out of an 8V Mk3 so there's plenty of power for me from the stock 1.8T. I'm mainly interested in the suspension and aesthetics side of things currently. I'm a part-time student currently and have no mechanical qualifications, just a passion in all things automobile.

I'll eventually use this as an outlet to document my build, so I'll be using the appropriate tags/labels to make them easy to find.

As I add info/articles/blogposts on, I hope you guys who make their way to my blog will find the information helpful! Don't be afraid to comment away either - I like getting feedback and knowing that people are reading this.

Showing posts with label interior. Show all posts

09 October, 2011

Airride - Random install pics (hidden setups)

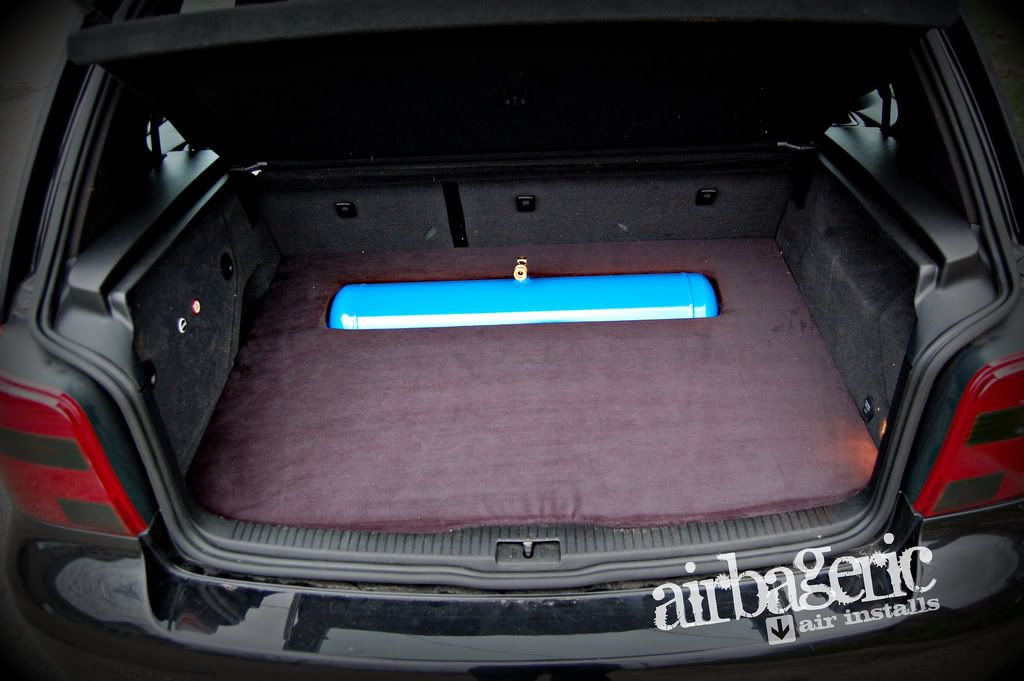
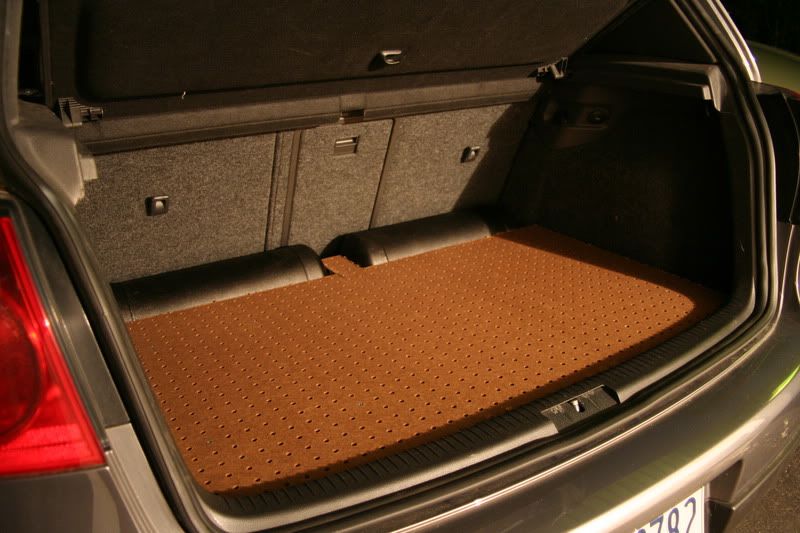
Hidden setups are the stealth setups that allow for full use of boot space.  Usually an unflattering look though.

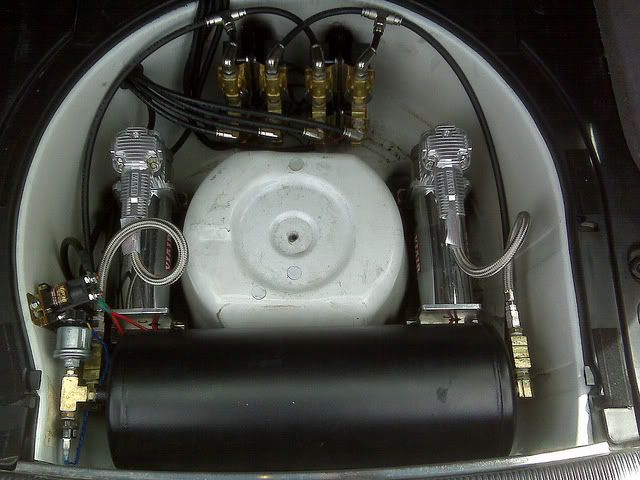
Tight spare wheel well not a problem for this bloke.
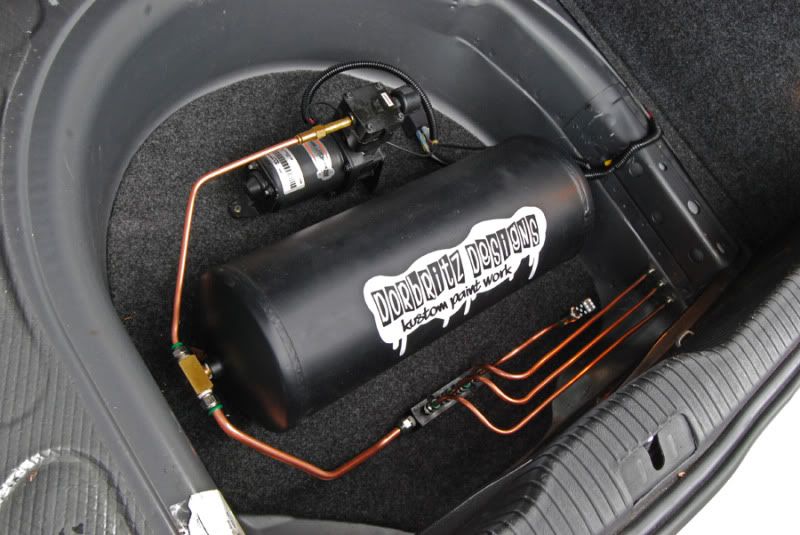
Note the distribution block for the air lines presumably going to the valves.  Not need for a valve block like the VU4 though of course.
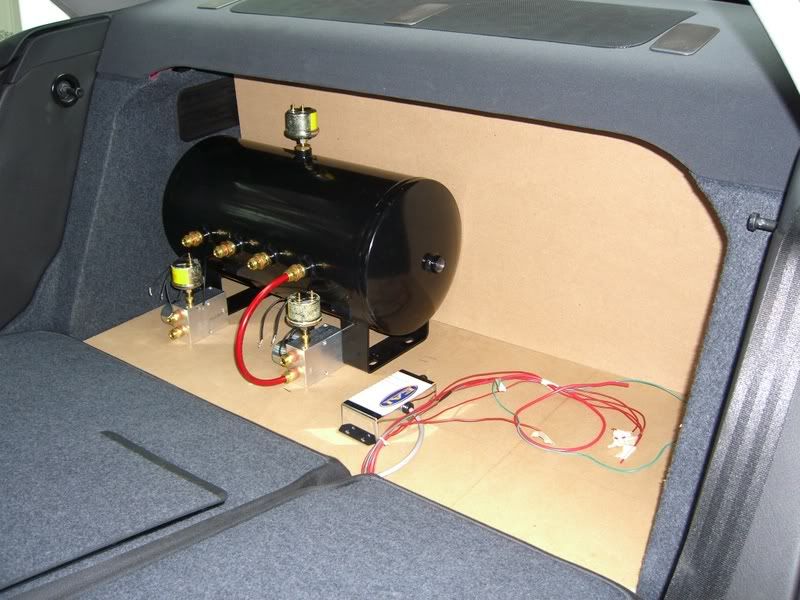
A little different to your usual hidden setup.  This one hides behind a false wall behind the rear seats.  I'm assuming the compressor is below the false floor.
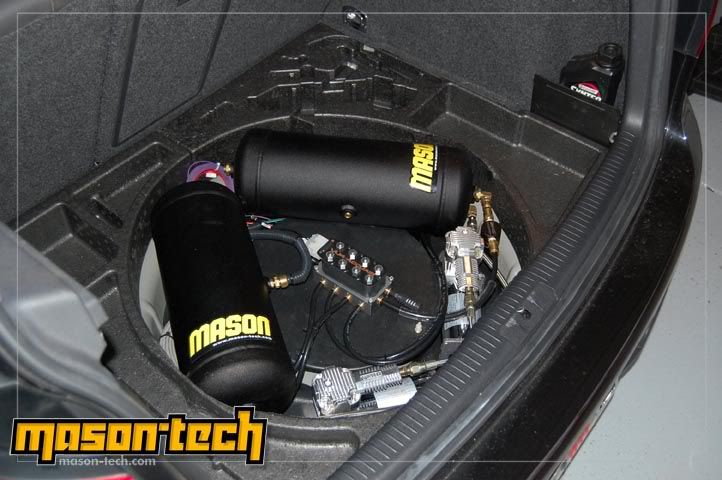
Another good use of space.  Maybe the tanks are set up for a peeping setup.
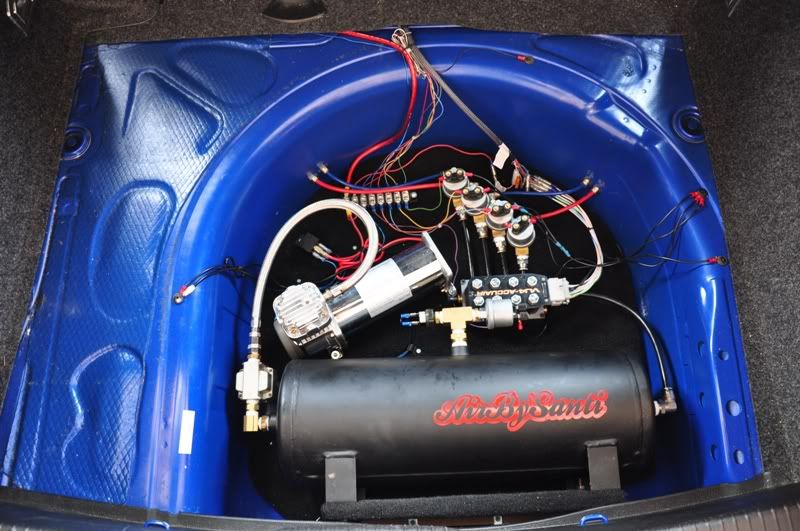
Mk4 wheel well I think.  3 gallon, a single compressor and VU4 block not a problem for hiding.
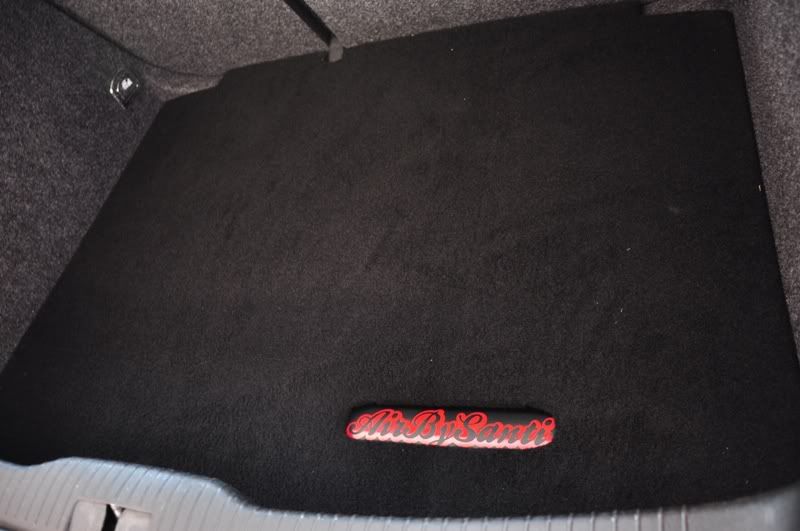
My bad, slightly peeping!
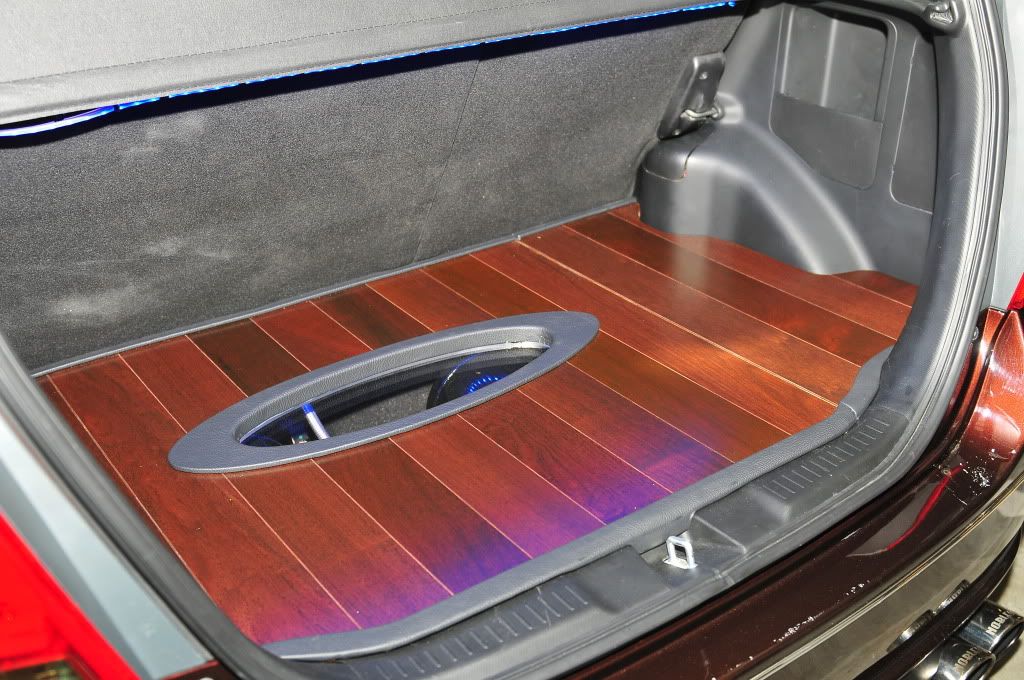
Neat hidden setup with plexiglass for some show.
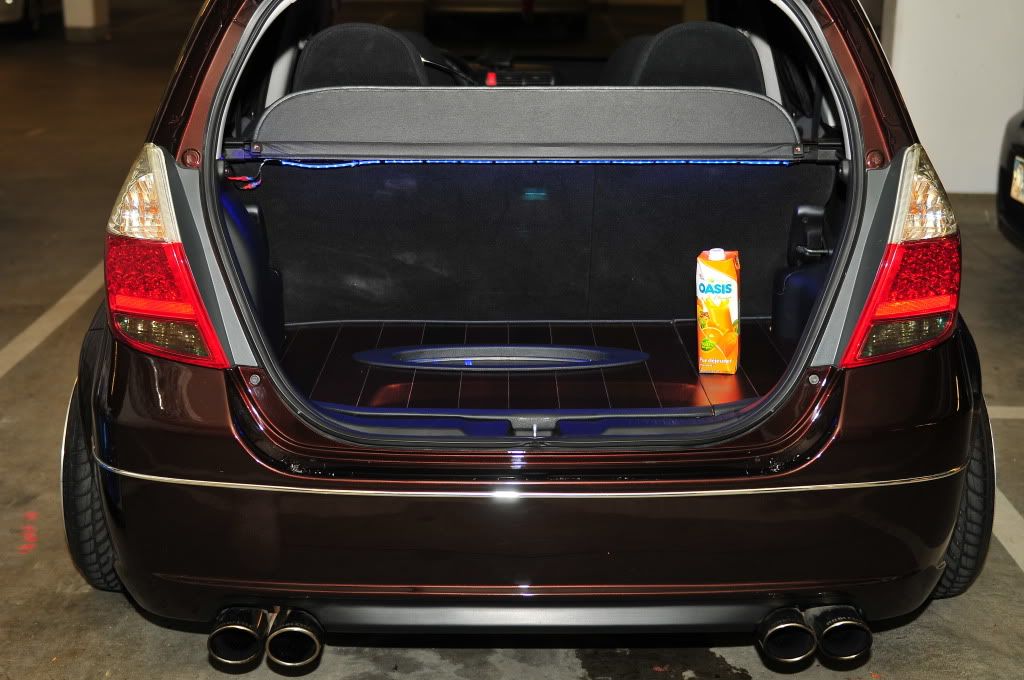
As above.
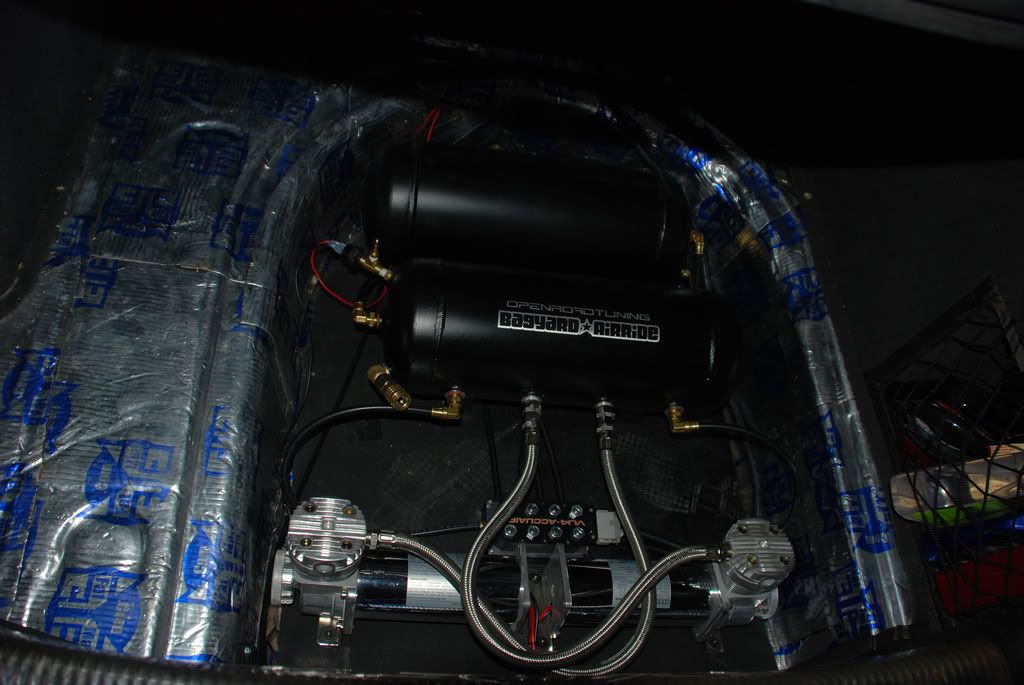
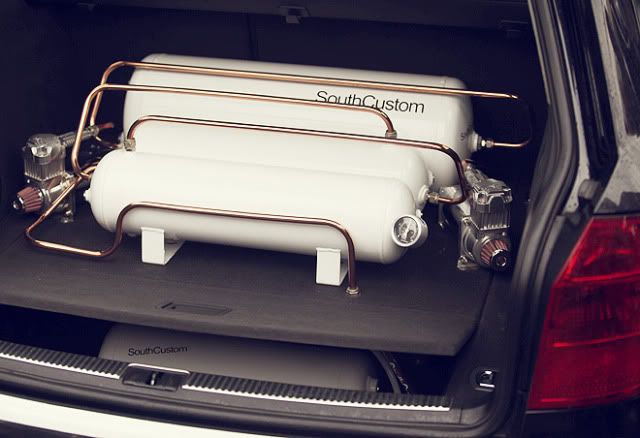
Two tanks and two compressors in the wheel well.  I think this is a wagon.
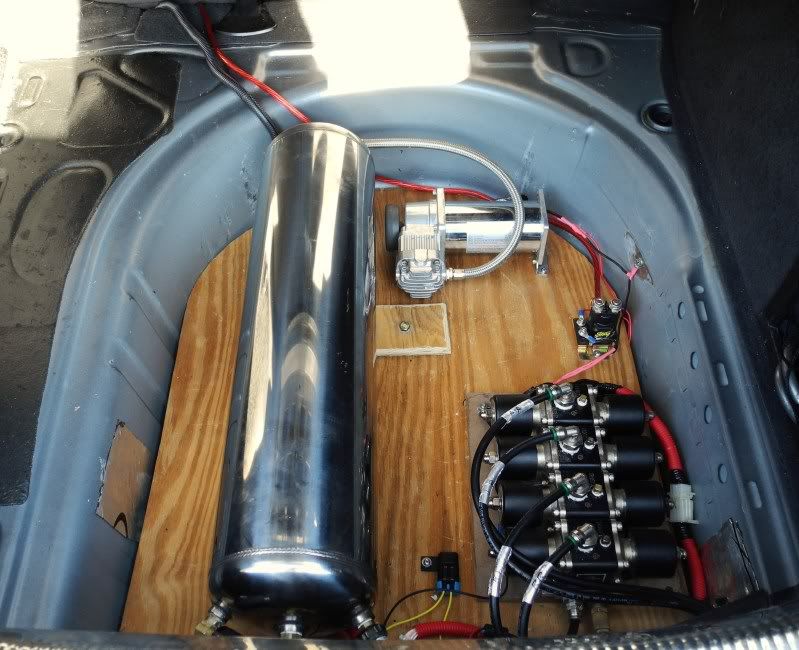
Skinny 5 gallon, single compressor and a massive valve block.  I think this guy could've easily pulled off dual compressors.
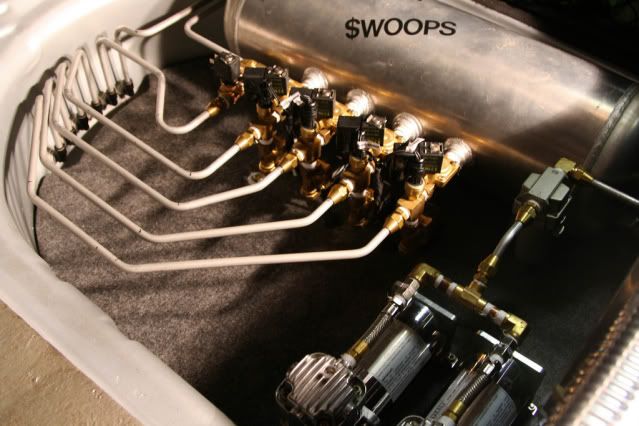
Crazy hard line setup.  Dual compressors linked up before tank, not sure what the implications would be here...
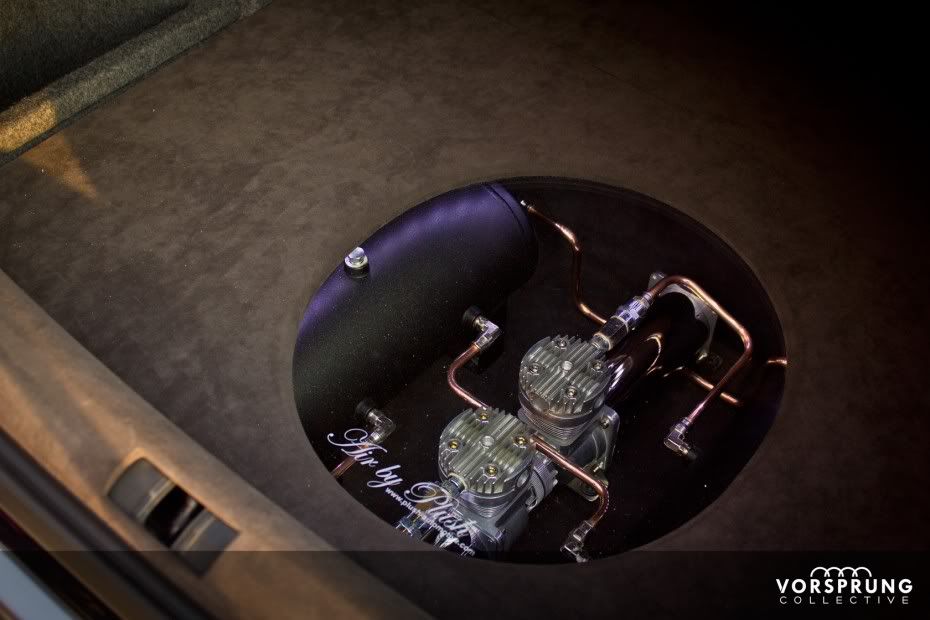
THIS is awesome.
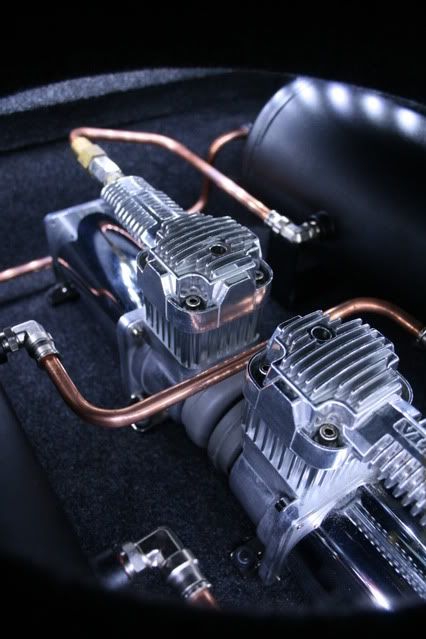
Definitely something I'm gonna aspire to making.

Links:
"Air management pic thread" of VWVortex
"Show me your trunk" thread of VWVortex
"Air ride boot installs thread" of Edition38
AirSociety forums

08 October, 2011

Airride - Random install pics (tank peep setups)

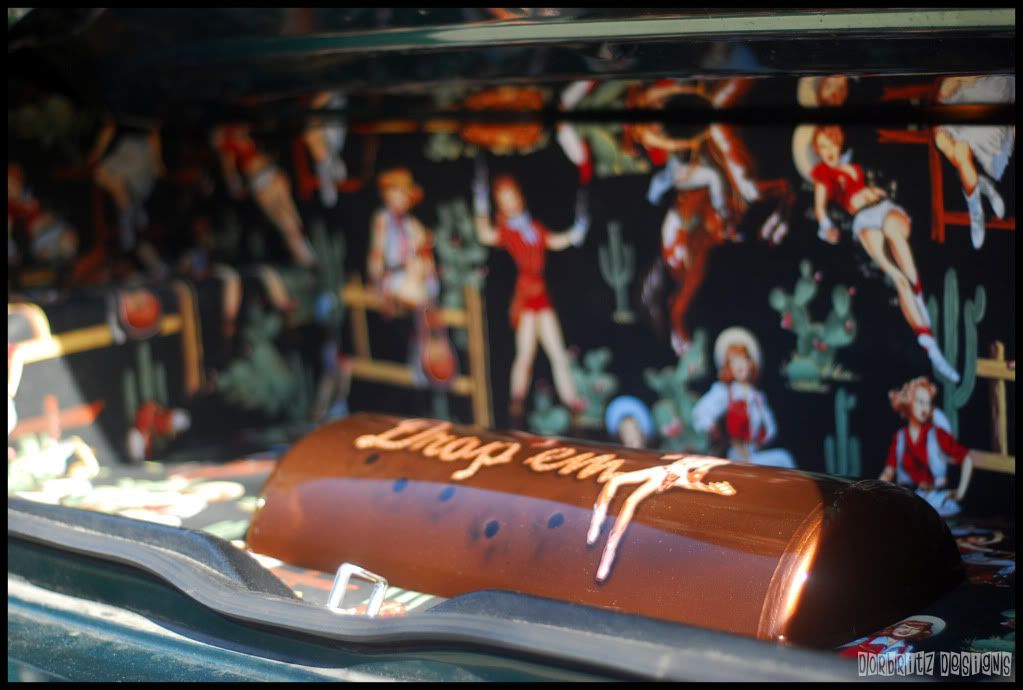
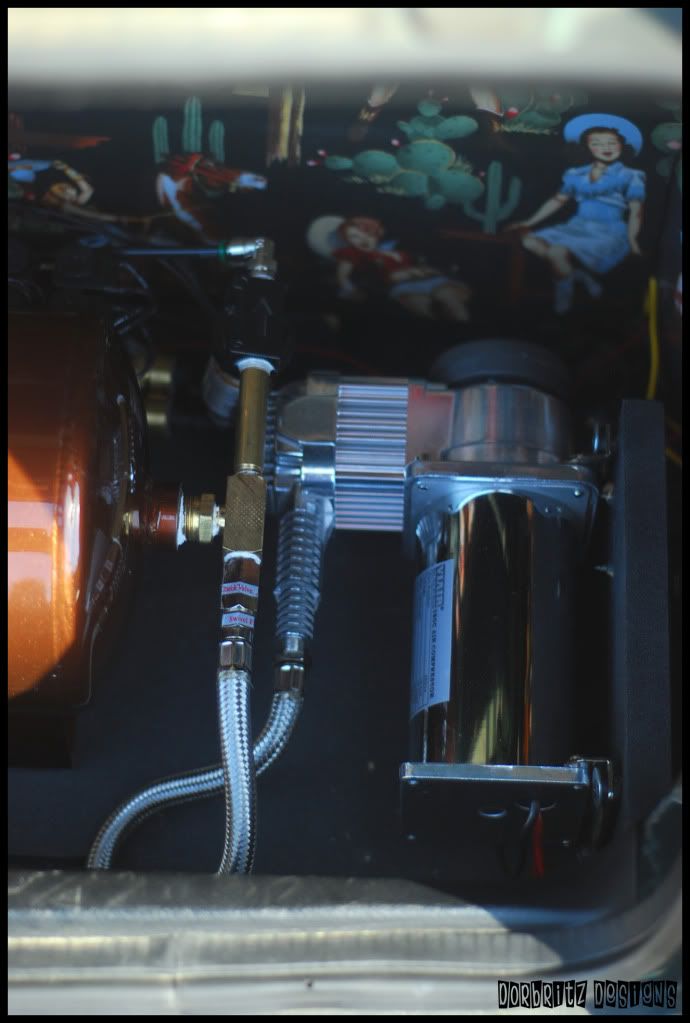
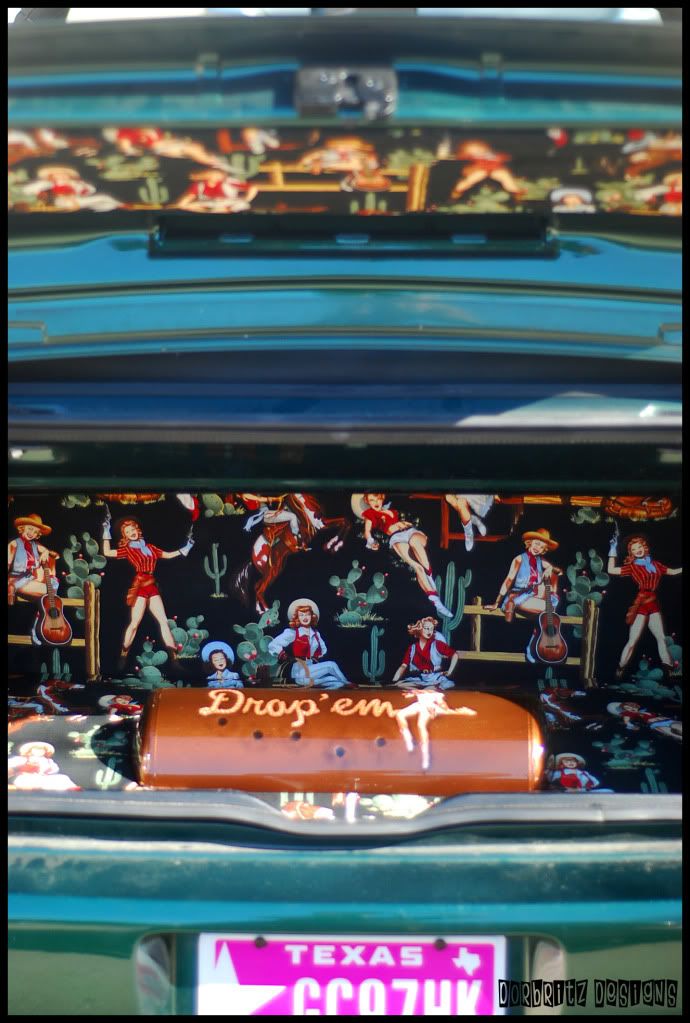
Next up are some tank peep setups

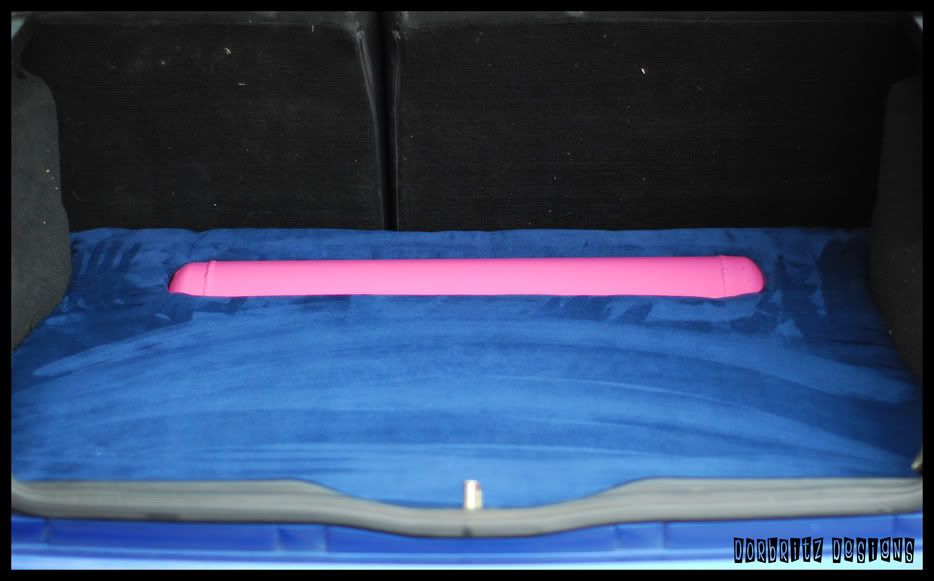
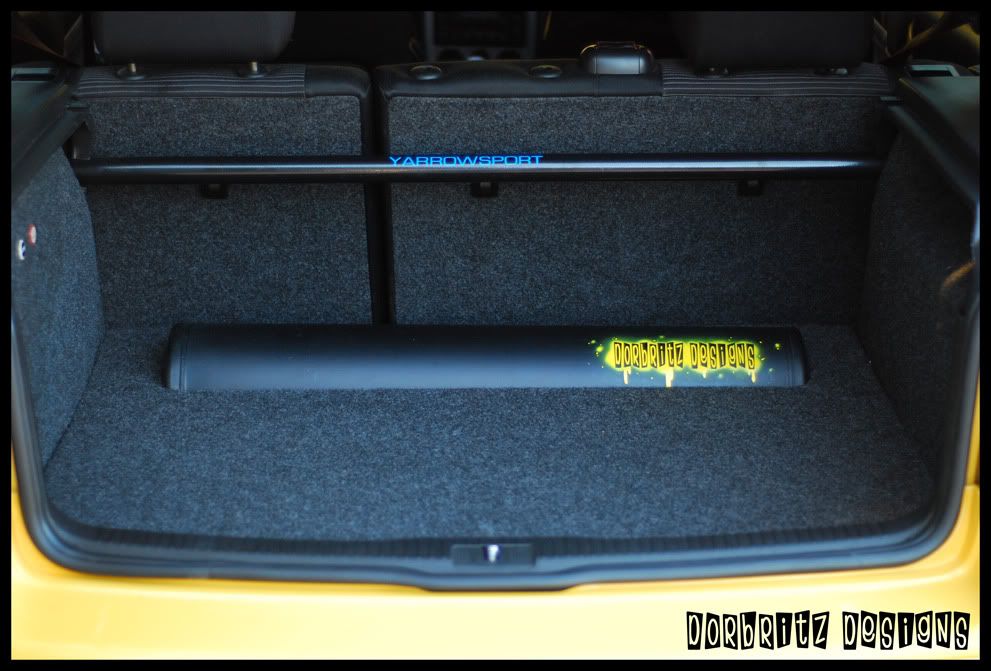
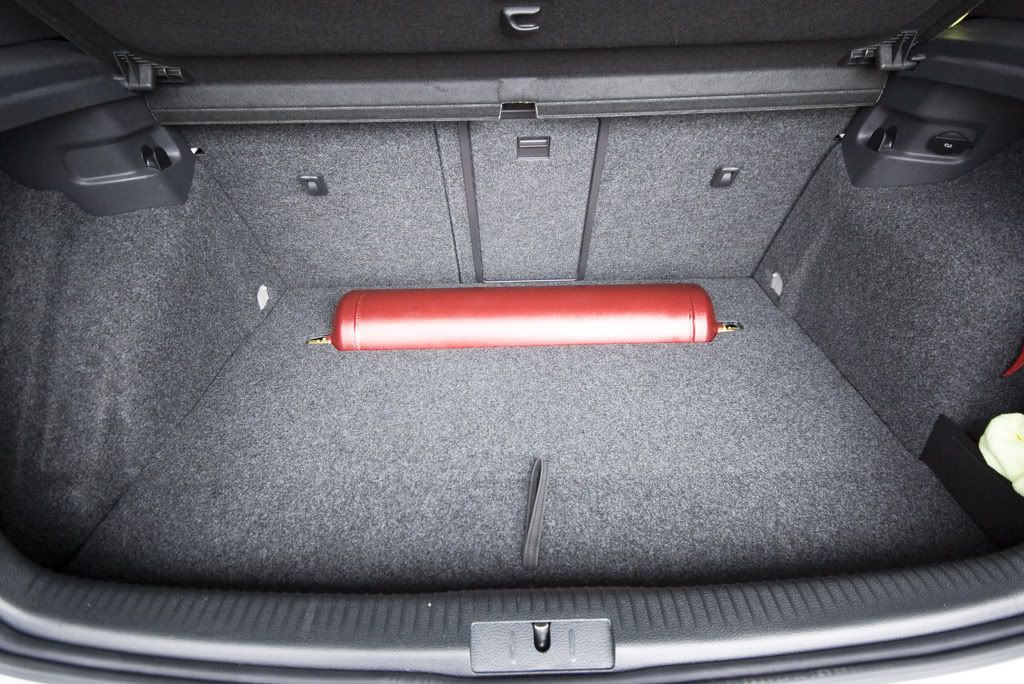
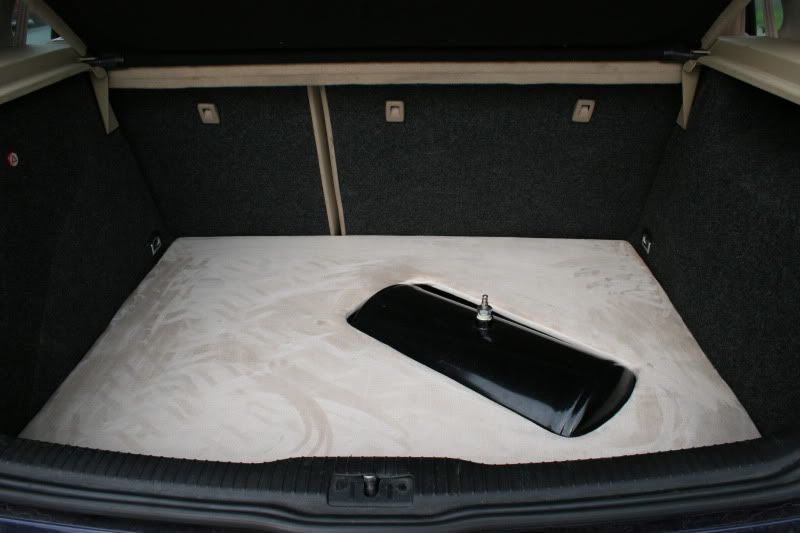
Nice and simple sans material wrap.

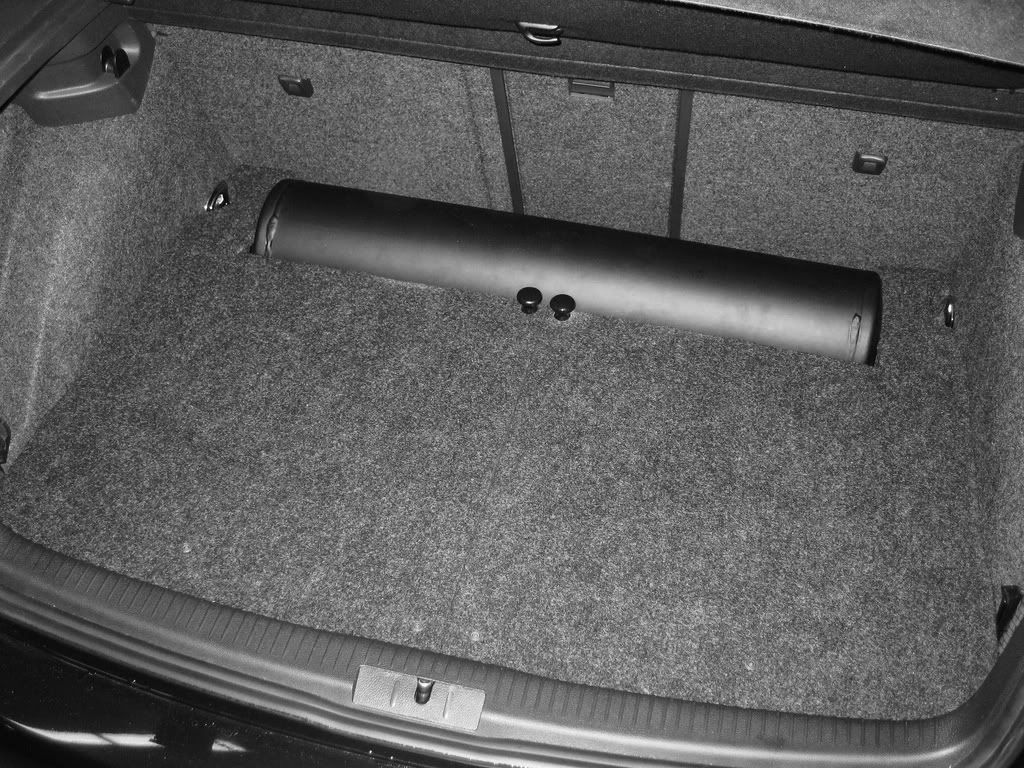
I think the two knobs in the middle allow the floor to lift up.  Side holes might be for the compressors to breathe?

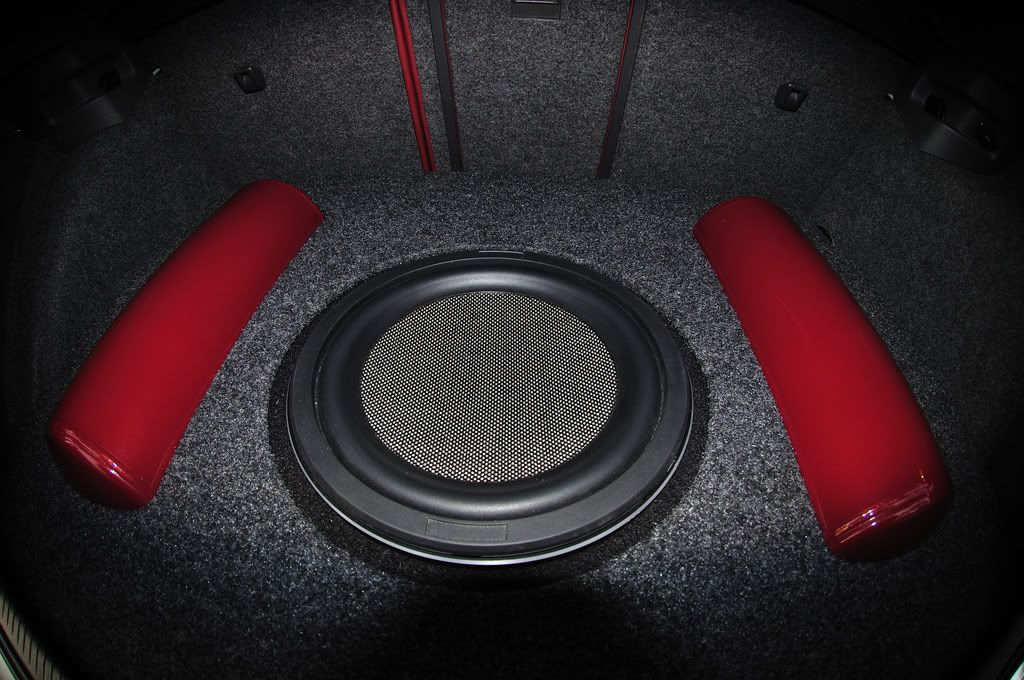
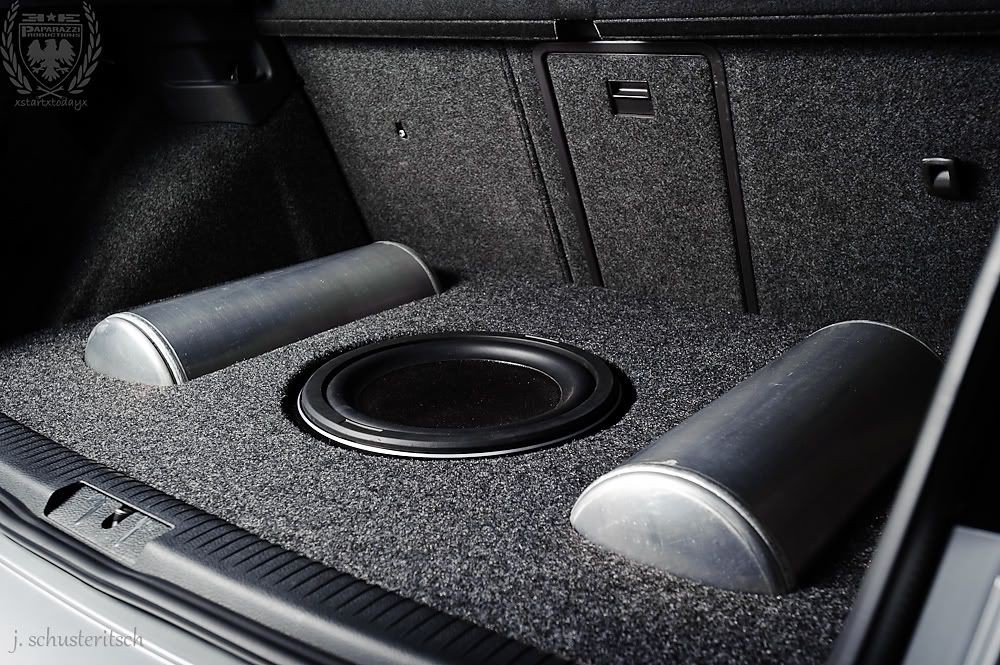
Cool setup, but not functional with the sub smack bang in the middle.

YES!  Very close to one of my ideas.  Perhaps without the back wall.

I like the side hole to allow the compressors to breath as well as have all the fittings hidden below the floor.  Clean!

Super clean!

Bit crooked, not a good look.

Not sure about the fitting on the ends of the tank peeping up too.  Dig the strap though.

Hmm...

Elaborate but awesome.

Floor lifted.

Not much space left in this setup though.

Same car as a few pics above, but this is before the paint.

Another clean one.

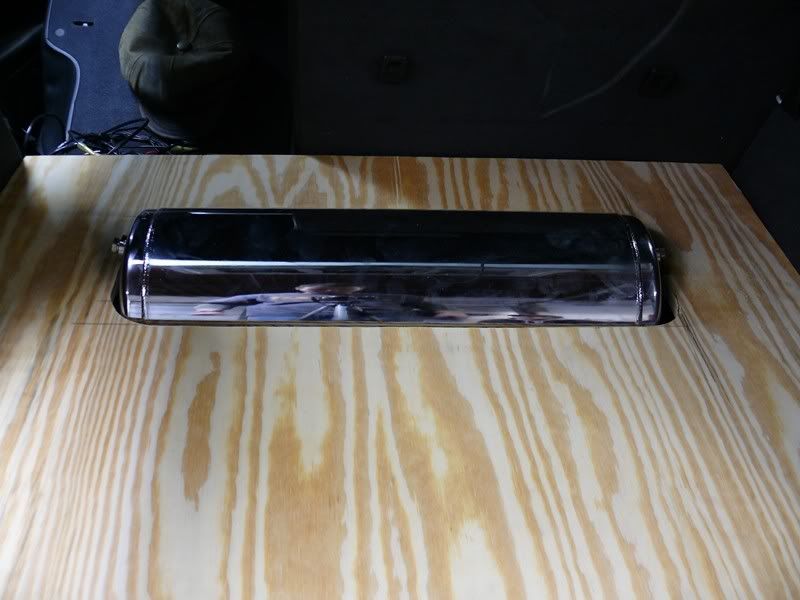
I like this one, dual 3 gallons!  Would like to see the floor covered.

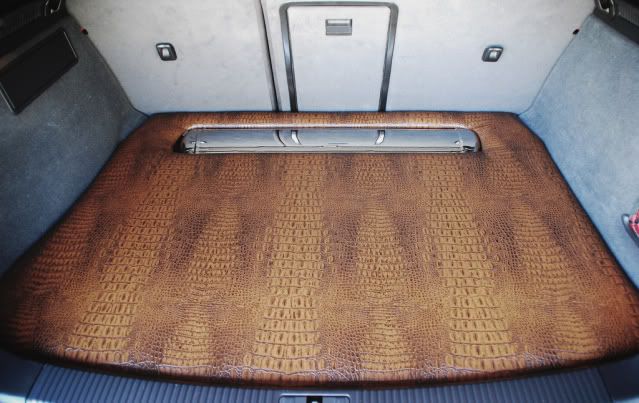
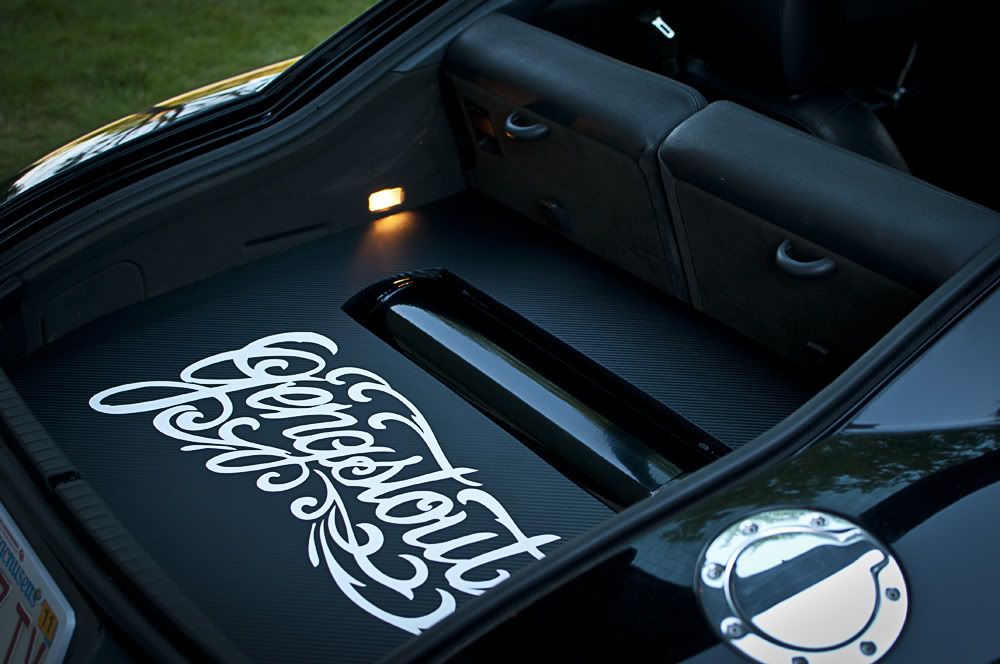
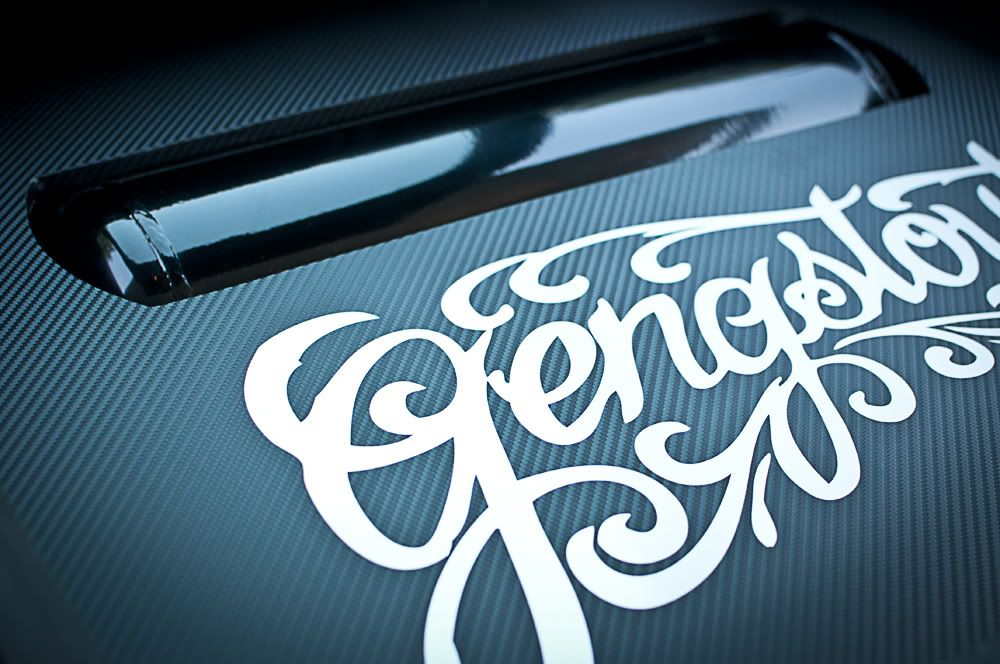
Snake-skin with a polished tank!

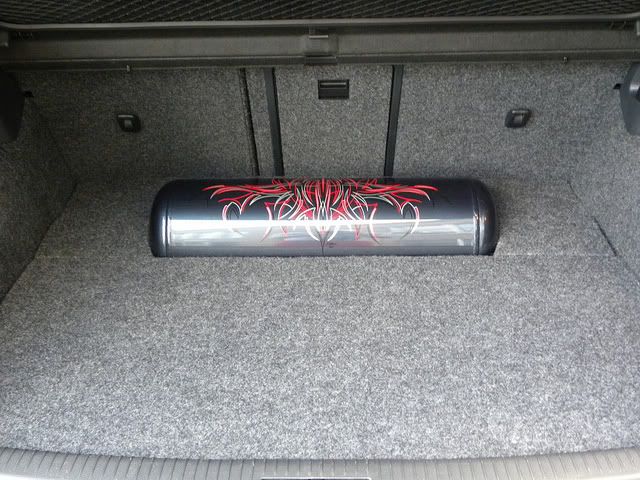
Pinstripe, tres cool.

Clean.


Links:
"Air management pic thread" of VWVortex
"Show me your trunk" thread of VWVortex
"Air ride boot installs thread" of Edition38
AirSociety forums
07 October, 2011

Airride - Random install pics (exposed setups)
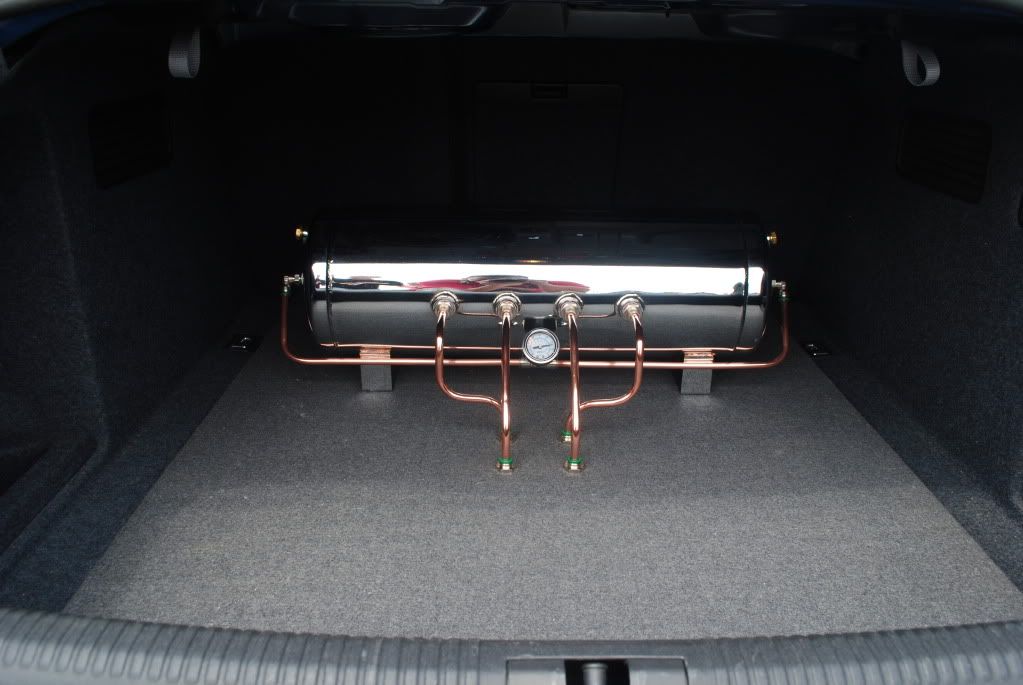
Exposed setups.  The coolest but least functional...

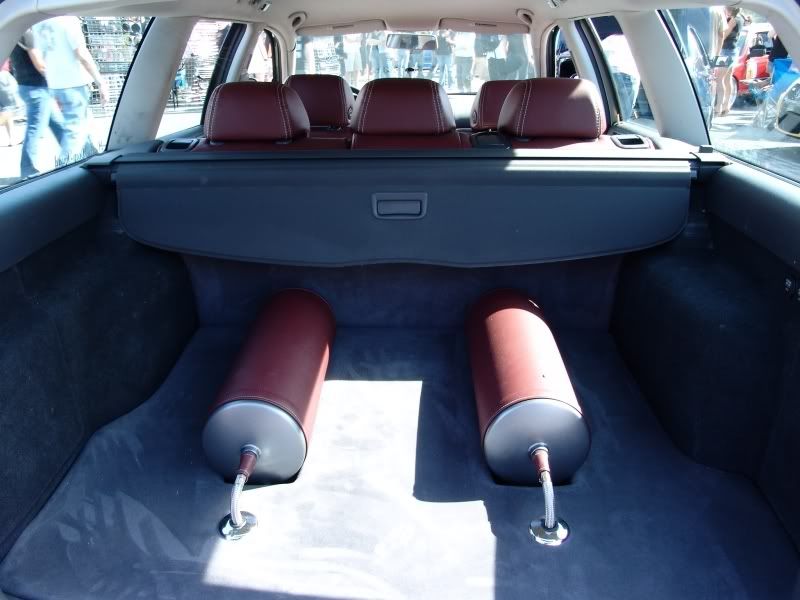
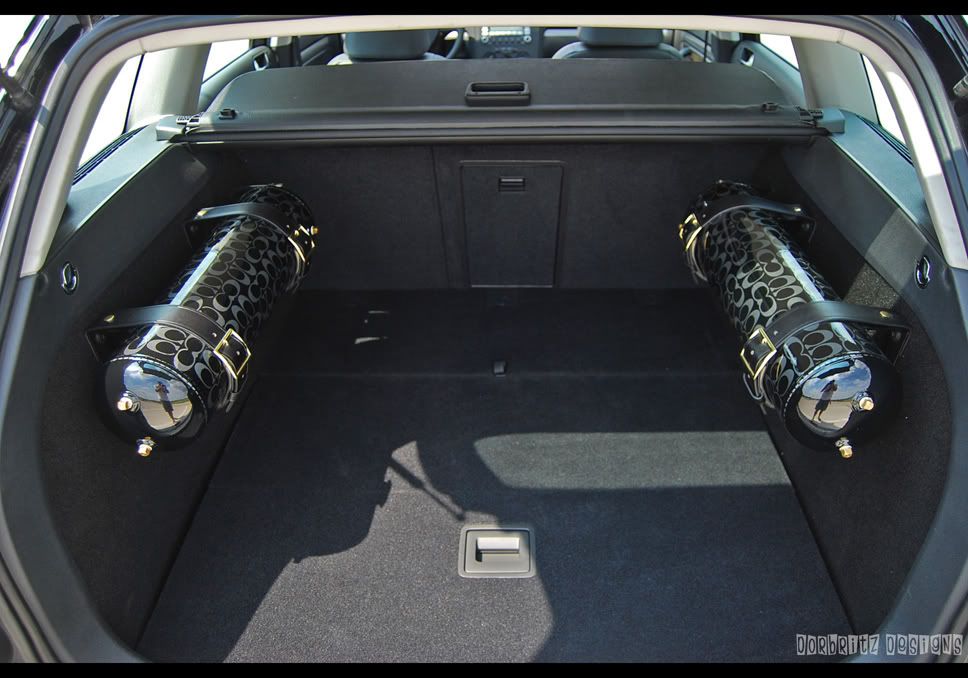
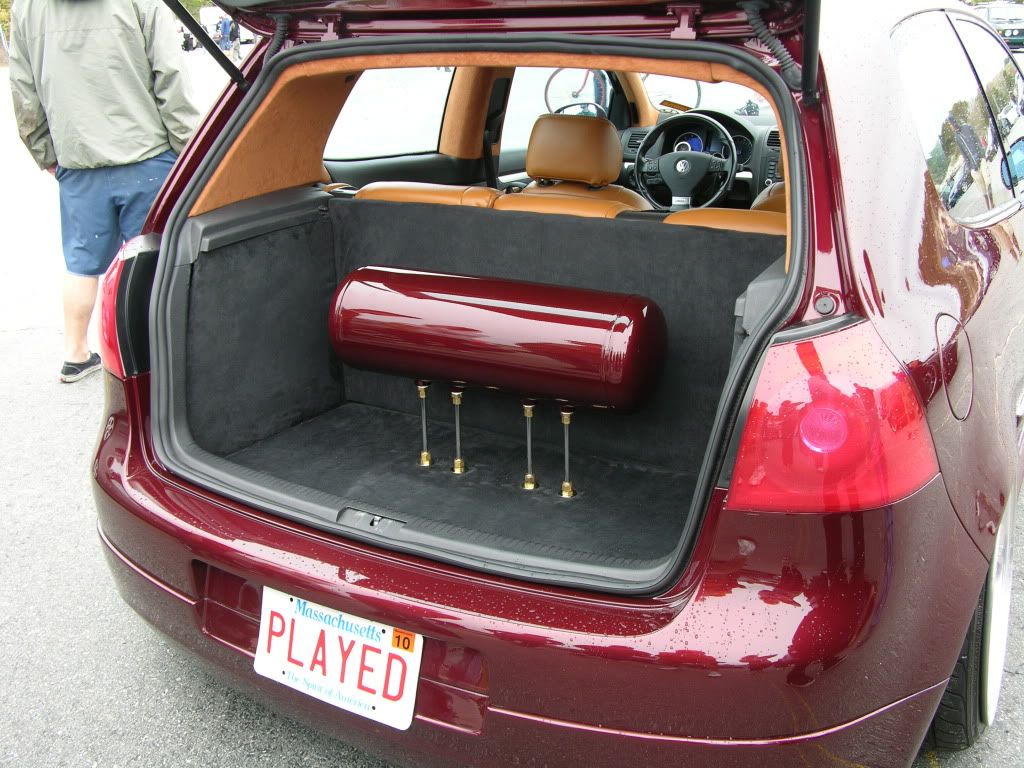
 Leather-matched!

 An exposed setup I wouldn't mind doing.

 Hanging tanks.

 Air lines routed from the rear of the tank.

 Leather straps!

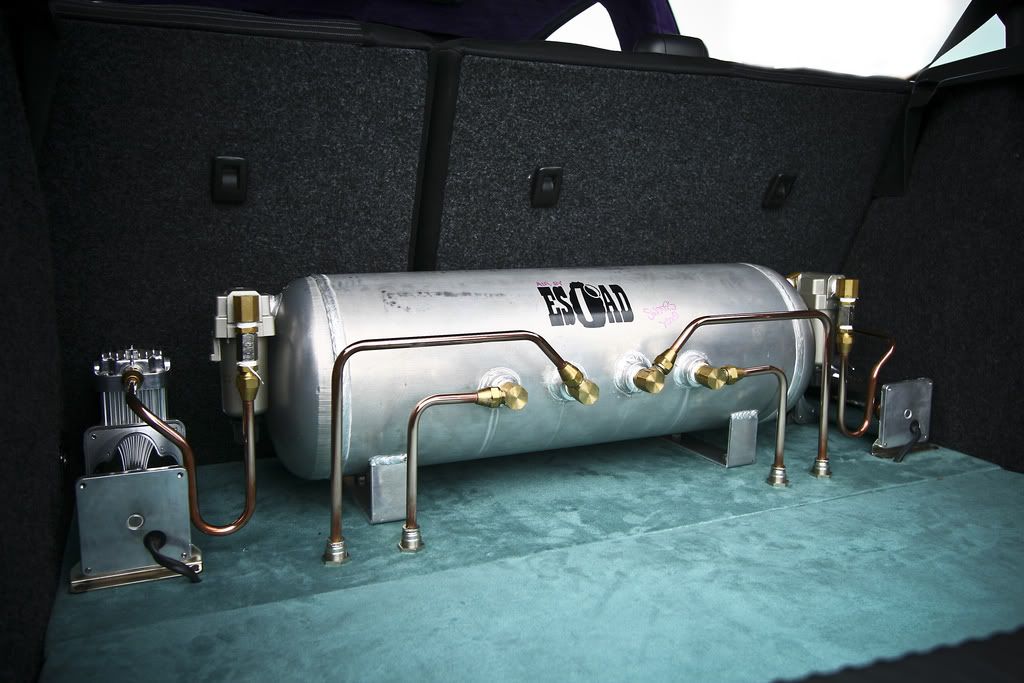
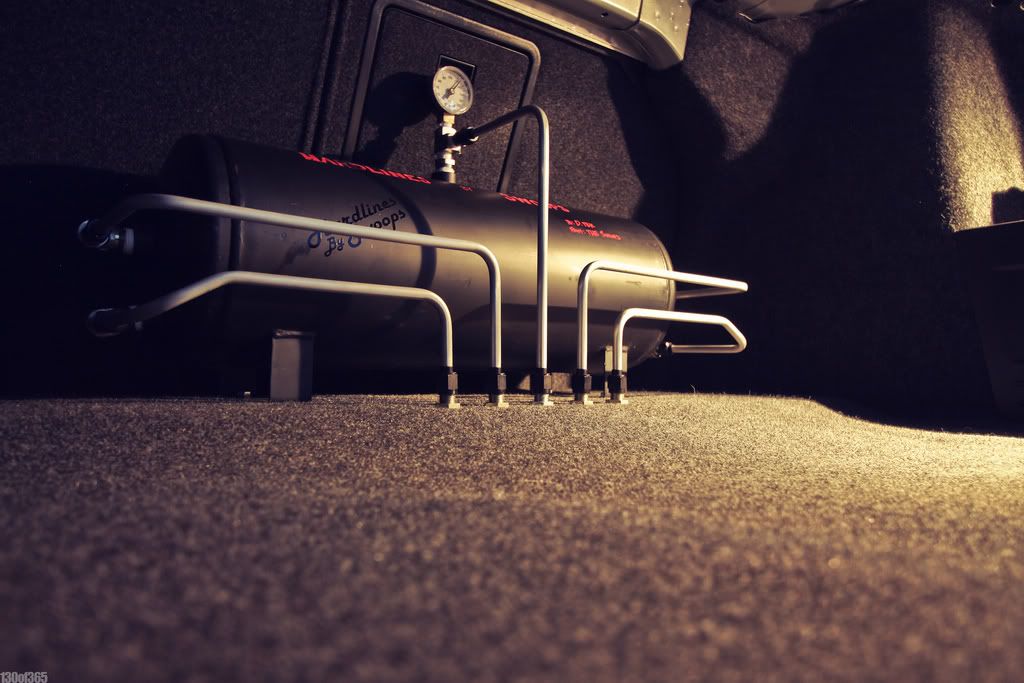
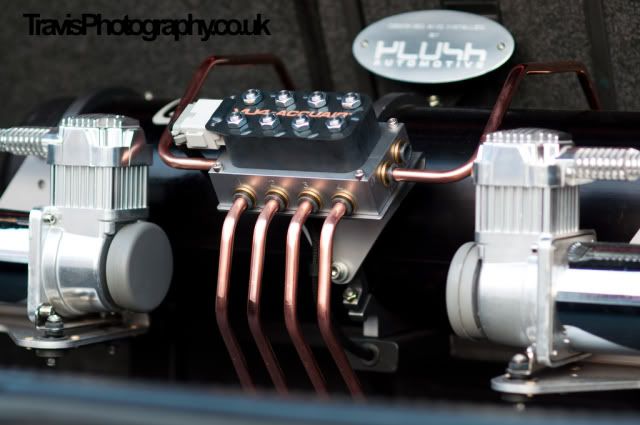
 Raw-finish tank, polished copper hard lines, polished brass fittings, perfection!

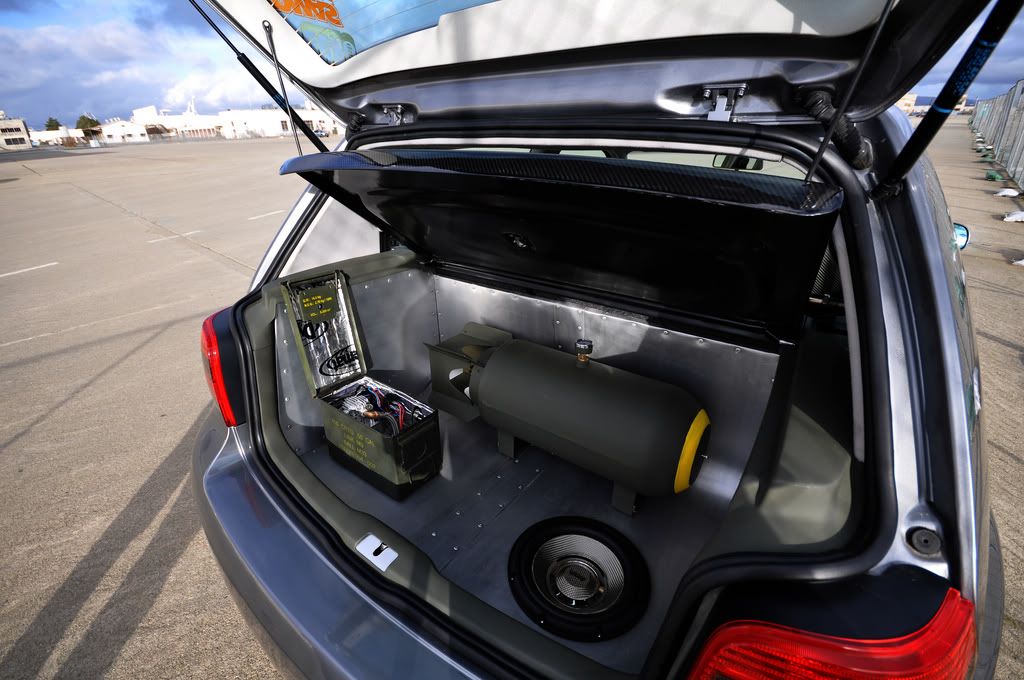
 Military-inspired install.  Compressor housed in ammo container, reduced noise levels too.

 Simple hard line install with air line fitting for tools.

 All exposed, virtually no room for anything.

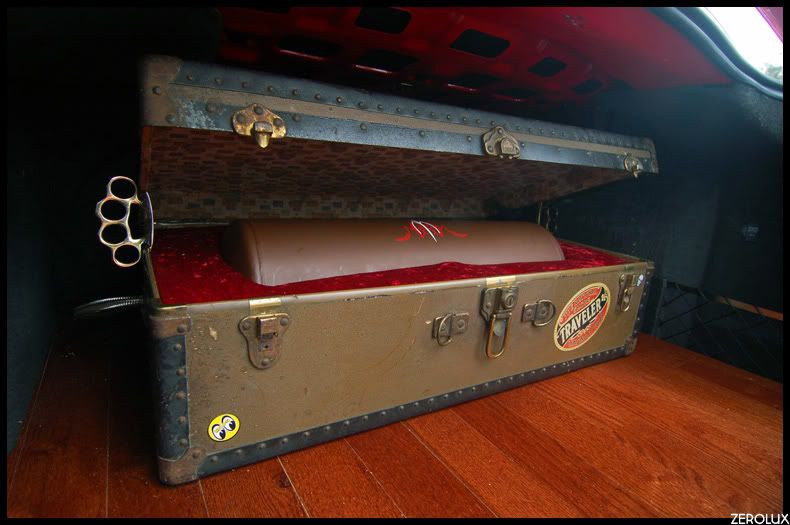
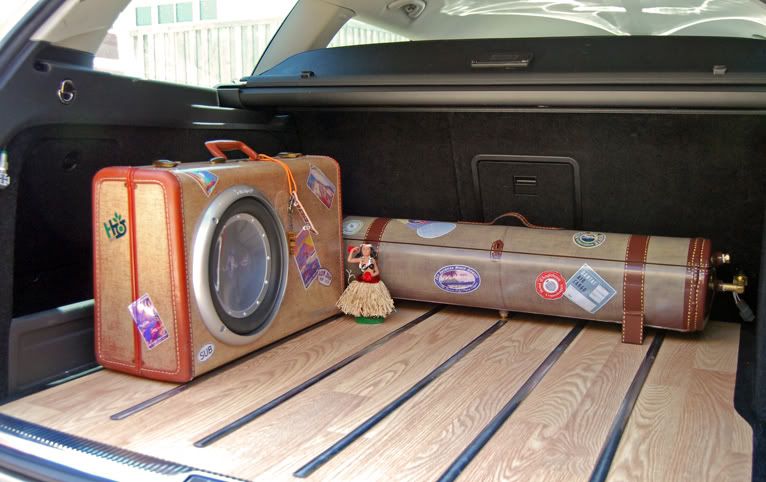
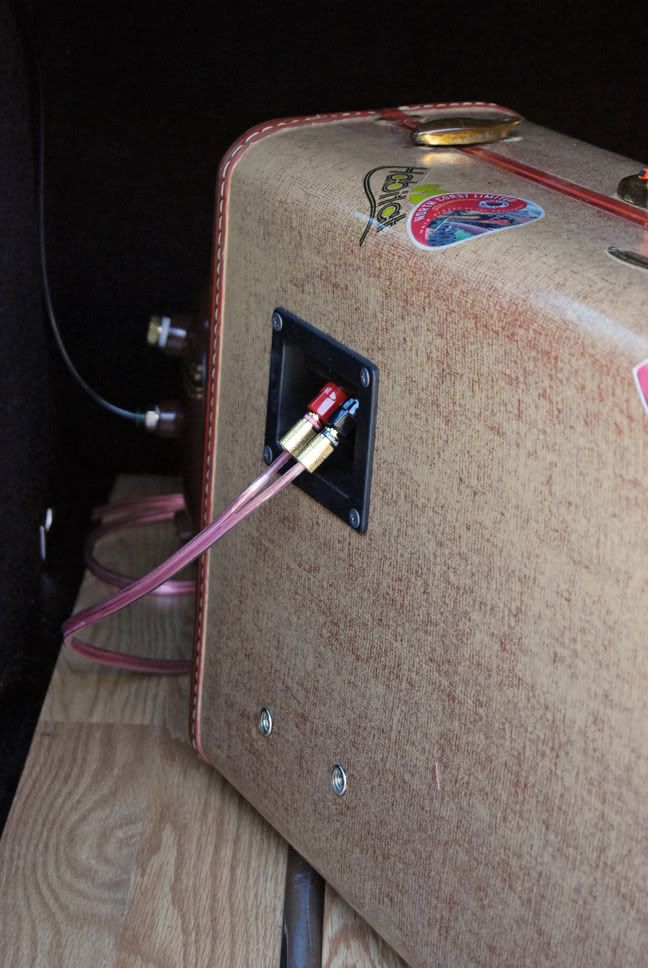
 Vintage suitcase-inspired.  Tank was painted!


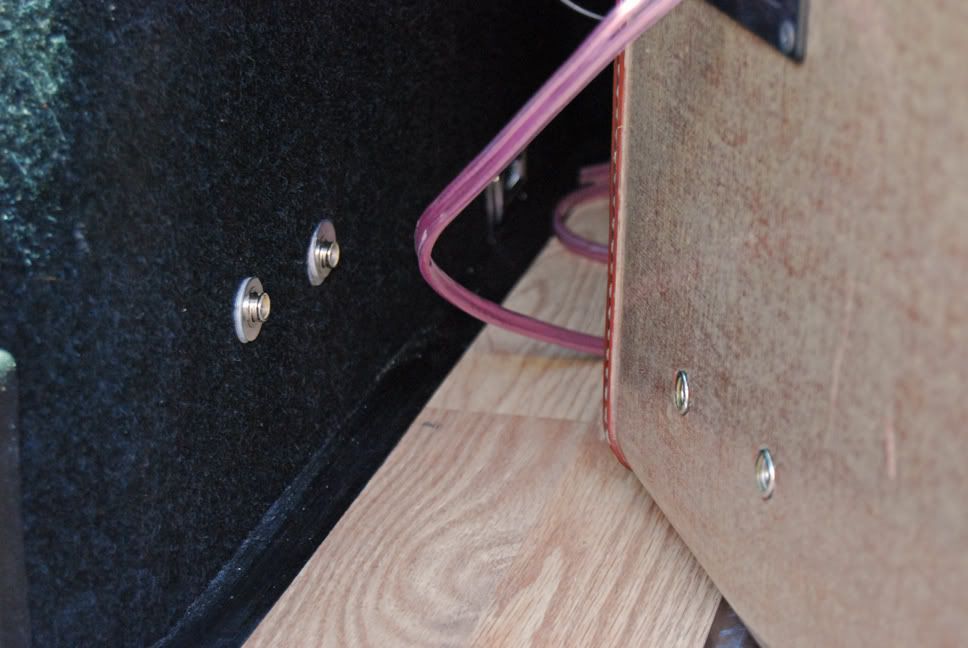
 Snap-ons so the enclosure won't move!

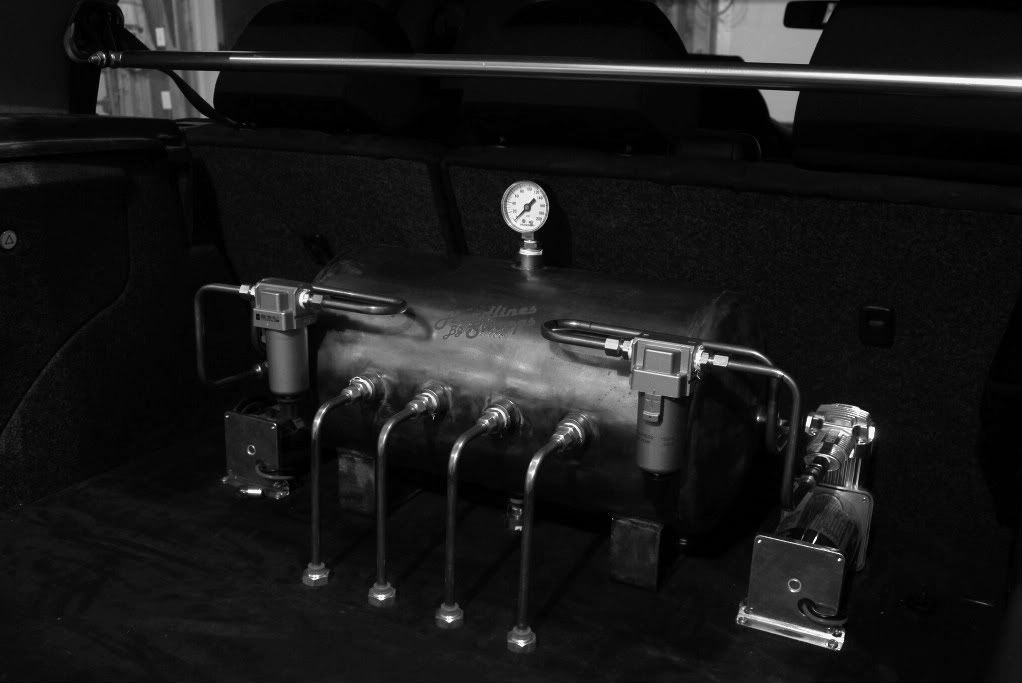
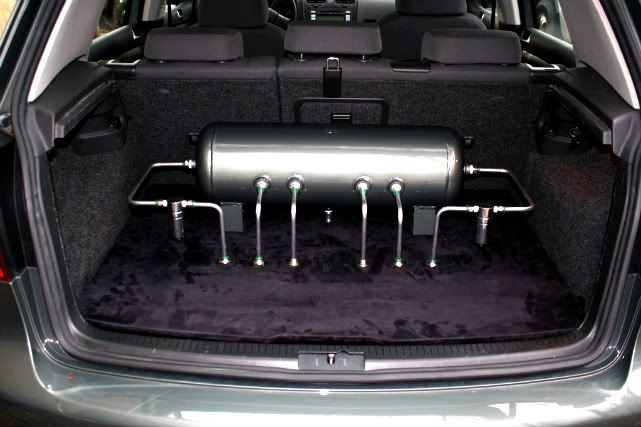
 Another cool hard line setup.  I like the gauge but I would place the water traps closer to the tank.

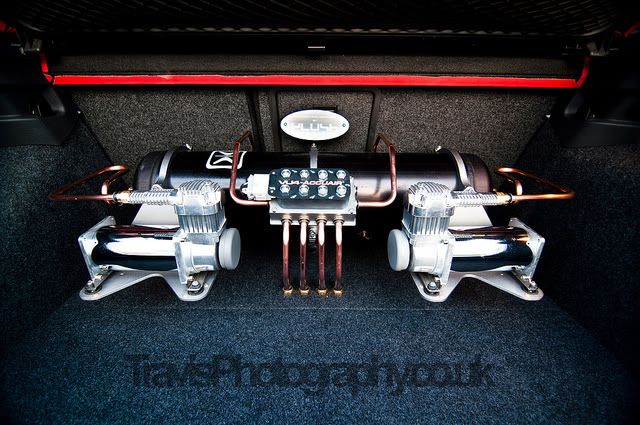
 Symmetrical is nice.

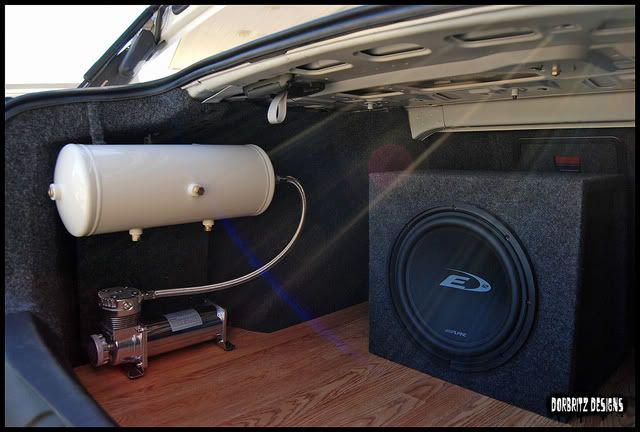
 Good use of space regarding the tank and compressor, too bad about the sub box though.

 Hard line exposed setup with the compressors under the false floor.

 Mmm, polished tank and copper hard lines.  Not sure what that hard line connecting one end of the tank to the other end is supposed to be for.  Perhaps just for looks.

 Hanging tank with stainless hard lines!

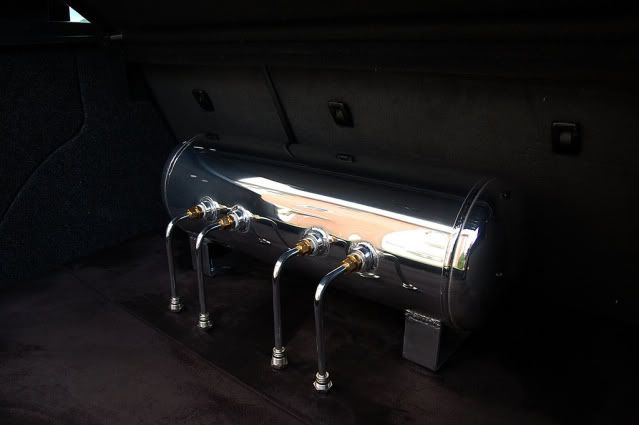
 Tank ports on the other side of the tank.  Sleek look.

 Simple exposed hard line install.

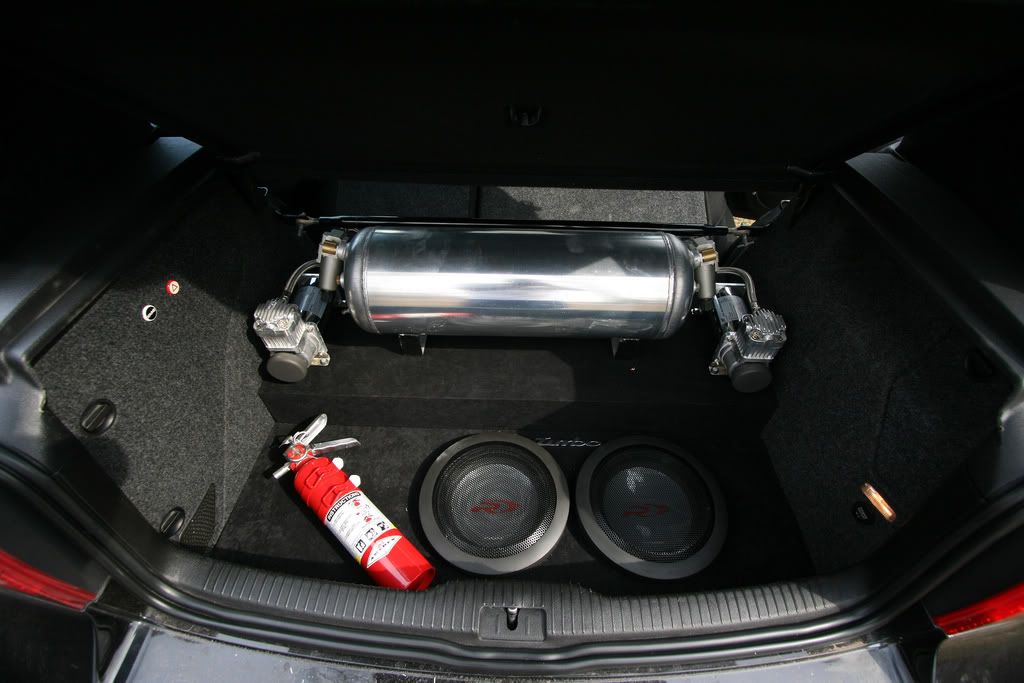
 Not so simple exposed hardline install with multiple tanks... note the compressors with mini pod filters.

 Another simple hard line install, this time with a gauge on the side.  Black fittings look pretty cool too.

 Accuair eXo mount install.  Looks like it's all floating.

 Very cool hard line setup though.

 A bit complicated but the extended hard lines allow for the compressed air to condense before reaching the tank so it's filtered out by the water trap.  Great for reliability, but looks too cluttered.


Links:
"Air management pic thread" of VWVortex
"Show me your trunk" thread of VWVortex
"Air ride boot installs thread" of Edition38
AirSociety forums